Edible cake decoration is a fantastic way for beginners to elevate their homemade cakes, transforming everyday treats into show-stopping desserts that catch the eye. Picking up some basic edible decoration skills lets you wow friends and family not just with how your cakes look, but also with how delicious they turn out. These little tricks don’t just boost the cake’s visual appeal—they ensure every nibble of decoration is both tasty and perfectly safe to eat.
Understanding Edible Cake Decoration Basics and Its Benefits
Edible cake decoration is all about using food-safe materials to jazz up the look and taste of cakes. Common go-tos include icings, sugars and natural ingredients that catch the eye and bring tasty charm to the party.
Fondant creates a smooth and flexible surface perfect for shaping all sorts of designs and makes your cake look like it just stepped out of an artist's studio.
Buttercream has a wonderfully creamy texture that is begging to be piped into flowers and decorative borders. I have found it is a classic for a reason.
Edible inks let you print detailed images with such precision it is almost like magic on your cake.
Food coloring is your trusty sidekick when you need to match any theme from subtle pastels to bold eye-popping hues.
Chocolate can be molded or drizzled to add a touch of elegance because who can resist a little chocolate flair?
Sprinkles bring instant charm and playful texture that can transform even the simplest cake into a party.
Edible flowers offer natural beauty and a fresh taste and add a little garden whimsy that never goes out of style.
Royal icing sets up quickly and is just right for fine, delicate piping details that make your cake stand out from the crowd.
Key Tools and Ingredients for Those Just Starting Out Your Essential Starter Pack
Getting started with edible cake decoration is easier than you might think, and it only takes a handful of simple tools and ingredients that won’t break the bank or disappear into some specialty store abyss.
Tool/Ingredient
Use Case
Beginner-Friendly Alternative
Piping bags
Perfect for applying buttercream and royal icing with a steady hand and tight control
Disposable plastic piping bags are a great no-fuss starter
Spatula
Great for smoothing icing and gently lifting decorations without a fuss
Offset spatulas or even a trusty butter knife do the trick nicely
Turntable
Lets you spin the cake around smoothly so your decorating stays even and neat
If you don’t have one, a Lazy Susan or a plate on a non-slip mat can come to the rescue
Fondant rolling pin
Used to roll fondant out evenly, giving your cake that polished look
A regular rolling pin paired with parchment paper works just fine
Food coloring
Adds that pop of color to icing, fondant, and batters
Gel or paste food colors usually win out over liquids since they will not water down your mix
Edible glue/Water
Acts like glue for edible decorations, sticking everything together perfectly
A simple mix of water or a touch of light corn syrup usually does the job beautifully
Toothpicks
Handy for detail painting, marking spots, or quick little fixes
Bamboo skewers trimmed down to size work surprisingly well
Edible markers
Ideal for writing and drawing on fondant or royal icing
Food-safe paint brushes with gel colors make a solid alternative if markers aren’t on hand
When picking edible ingredients, it’s smart to lean towards high-quality products that skip artificial preservatives. After all, you want flavor and safety going hand in hand. I’ve found that keeping items like fondant and buttercream sealed in airtight containers and away from heat and moisture makes a world of difference. They stay fresher longer and work better when you’re ready to use them.
A Detailed Guide to Edible Cake Decoration Techniques That'll Elevate Your Baking Game
Getting a handle on basic techniques really helps beginners add a touch of style and precision to their cakes. Starting with a smooth base and then moving on to the finer points of detailed piping, I have found that knowing each step inside out tends to boost confidence.
1
Level the cake and apply a thin crumb coat. This trick helps create a smooth base and keeps pesky crumbs from sneaking into your icing.
2
Grab a spatula or bench scraper and spread the buttercream evenly around the cake so you have a clean canvas to work your magic on.
3
Roll out your fondant on a clean lightly dusted surface to an even thickness. Then gently lay it over the cake while smoothing out any folds or air bubbles like a pro.
4
Get comfortable with basic piping by filling a piping bag and practicing borders, rosettes or dots. Keep a steady hand—it takes patience but you’ll get there.
5
Gently press edible decorations such as sprinkles, edible flowers or chocolate shapes onto the icing or fondant to add personality with every touch.
6
Try layering colors or textures by mixing contrasting icing shades or combining different edible elements. This is a fun way to add depth and a little wow factor.
7
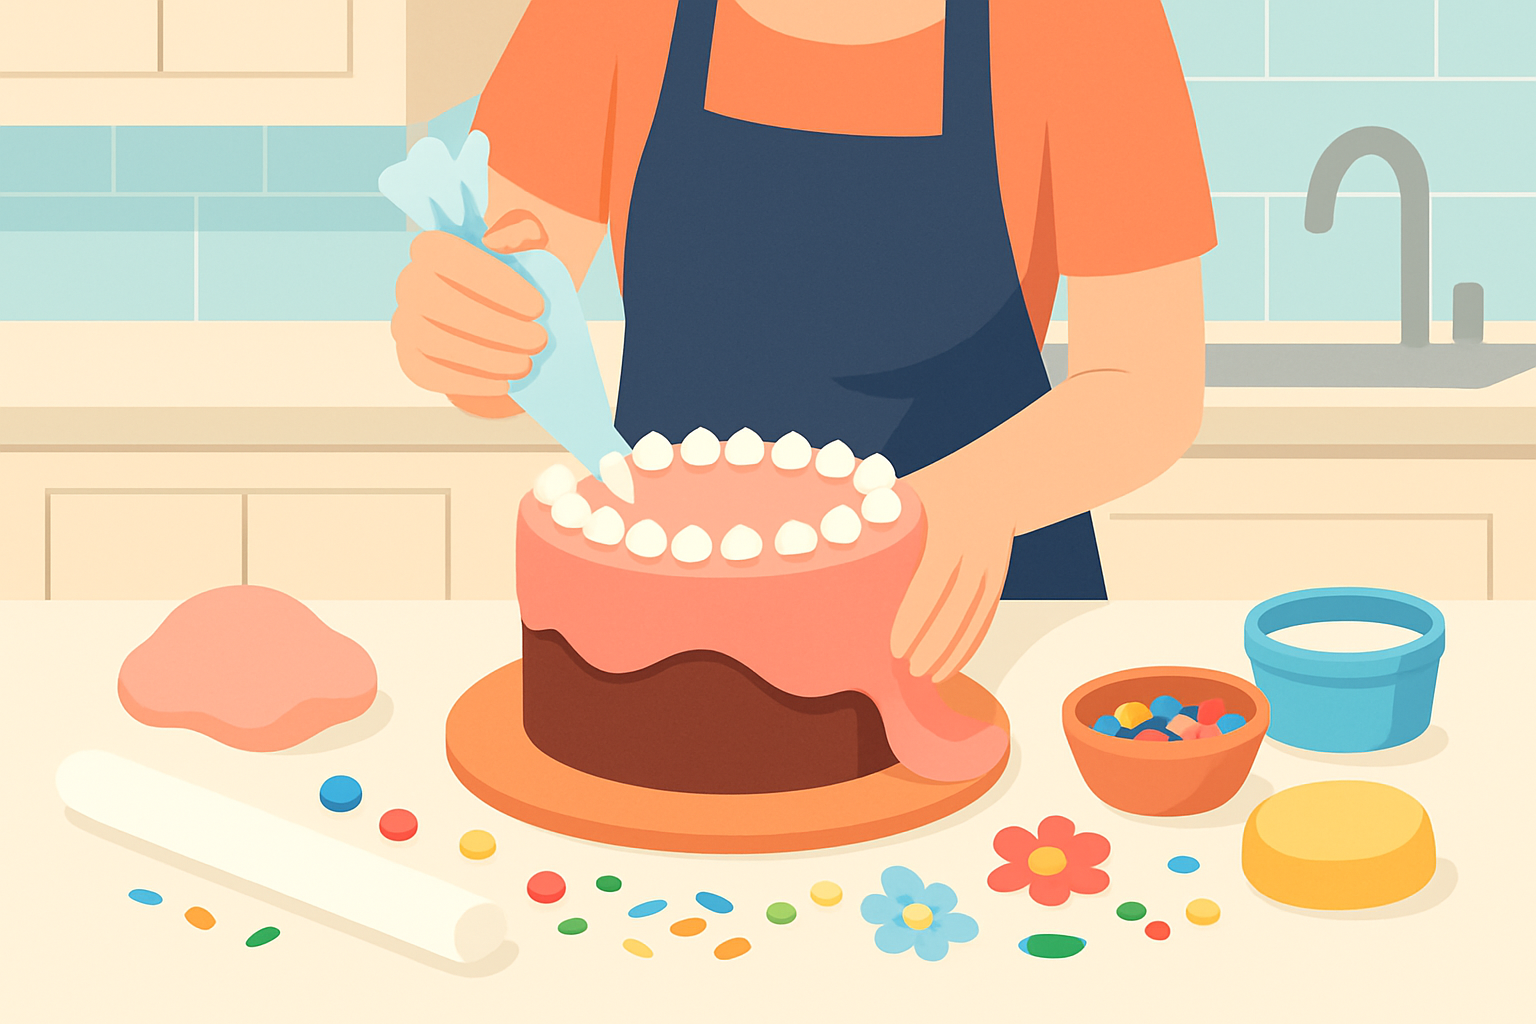
Finish off with fine details by using edible markers or piping to add personal messages or small designs. This will put the cherry on top of your masterpiece.
A step-by-step process showing a beginner applying edible cake decorations including smoothing buttercream and piping flowers.
Steering clear of common mistakes can really help newcomers achieve polished results that make a cake stand out. To keep fondant from cracking, be sure to knead it thoroughly and keep it away from drafts. When aiming for smooth surfaces, spread your buttercream evenly and give the crumb coat time to set. We’re talking a gentle hand and a little patience here. To avoid color bleeding, stick with gel-based food colors instead of the liquid kind and double-check that the cake’s surface is dry before you start decorating. If something does go sideways, gently scrape off the trouble spots and start fresh rather than forcing a fix that might make things worse.
Inspired Ways to Make Your Cake Decorations Truly Your Own
Once you’ve nailed the basics that is when the fun really kicks in and you can let your creativity run wild to make those cakes truly pop. Whether it’s blending colors like a pro or adding interesting textures or dreaming up themed designs these little touches often transform cakes into personal masterpieces.
Use food coloring gels to whip up ombré gradients on buttercream or fondant creating a smooth and elegant blend that’s easy on the eyes.
Sprinkle in some edible glitter or luster dust to add a subtle shimmer that dances when the light hits it.
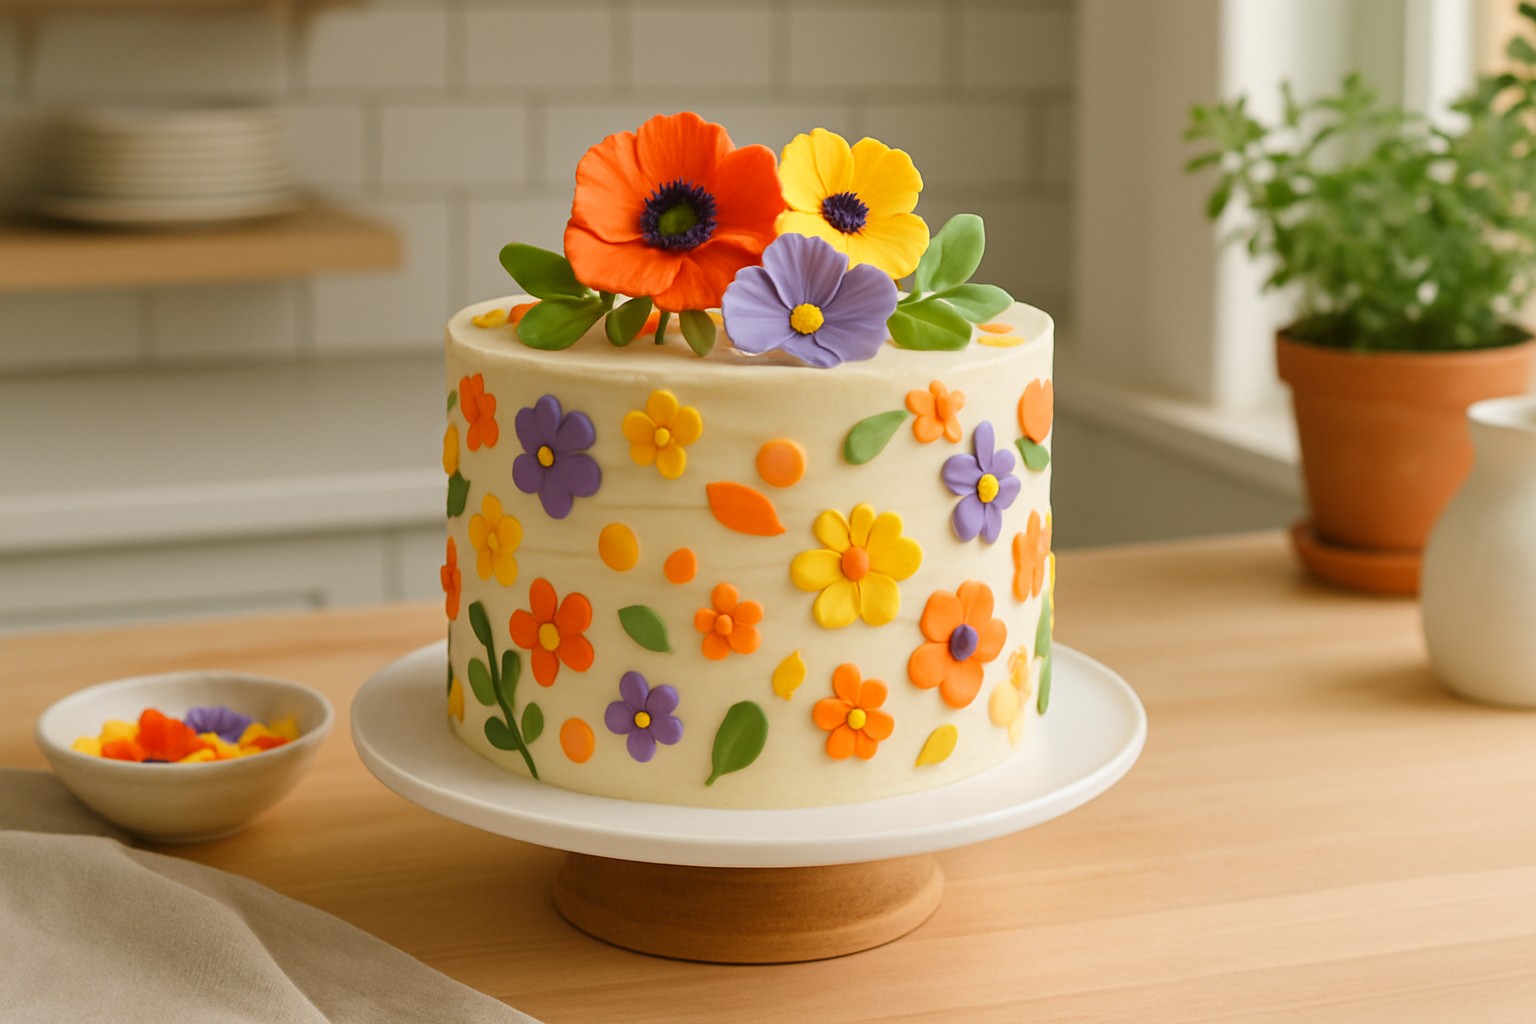
Shape fondant into simple flowers, leaves or geometric designs to jazz up the cake’s top or sides with charm.
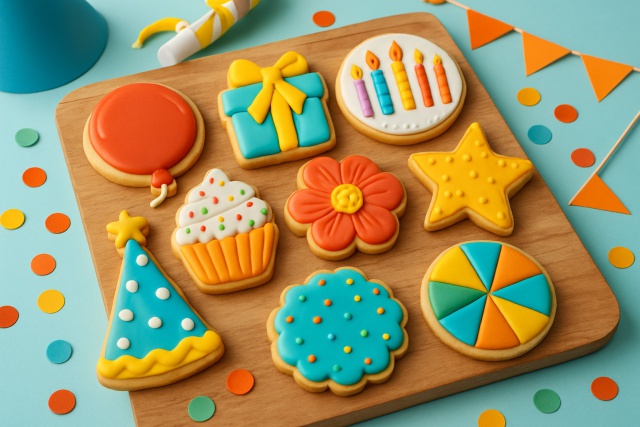
Themed decorations for birthdays such as number toppers and coordinating colors really tie the whole look together.
Experiment with textured buttercream finishes like rustic swirls or soft ruffled layers that bring a cozy homemade feel.
Apply edible gold leaf sparingly to inject a splash of luxury and take the design up a notch.
Stamp or emboss delicate patterns into fondant for refined details that show you really care.
Mix in fresh edible fruits and flowers for bright natural focal points that add a fresh and inviting vibe.
How to Clean and Store Decorated Cakes Safely (Without Losing Your Mind)
To keep your beautifully decorated cake fresh and looking picture-perfect, stash it in a cool dry spot away from direct sunlight. This is especially important for preserving any delicate edible cake decoration. If you’re working with buttercream or fondant, it’s usually best to avoid the fridge because moisture can cause sweating and ruin the texture you worked hard to achieve.
Patience and practice truly hold the reins when it comes to mastering edible cake decoration. Every talented decorator started with tiny steps and a whole lot of creative hustle.
Passionate by sustainable living, this environmental journalist bridges the gap between complex ecological research and practical everyday solutions for modern households.