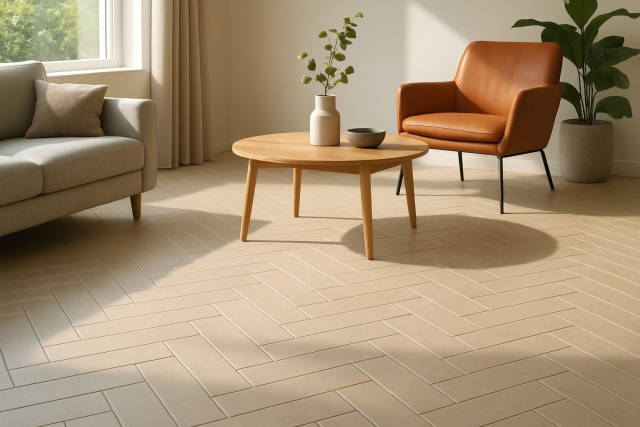
Learning how to install cork flooring brings an eco-friendly sustainable charm that perfectly marries natural beauty with a cozy feel and soundproofing. It effortlessly spruces up any home and with a bit of thoughtful guidance, tackling the installation yourself is not only possible but rewarding.
Cork flooring usually shows up in three main styles: floating, glue-down and click-lock. Each one has its own quirks when it comes to installation.
Tools and Materials You’ll Need to Tackle Installing Cork Flooring
Before you dive into installing cork flooring it’s a good idea to round up all your tools and materials first—it’ll save you from those frustrating mid-project hunts. You’ll want to collect your preparation tools and installation essentials. Also gather adhesives if the job calls for them and finishing supplies to properly secure and protect your floor.
A trusty measuring tape to help you map out your layout and cuts with spot-on accuracy
A utility knife armed with sharp blades perfect for clean and precise slicing—no ragged edges here
Spacers to keep expansion gaps even around the edges because consistency is key
Cork flooring planks or tiles picked to match your room size and style vibes
An underlayment that cushions and insulates beneath your floating floors making things cozy and quiet
Adhesive or glue essential if you’re going the glue-down route for your cork flooring so stick with it
A floor roller to press down the adhesive firmly helping to build a bond tougher than your morning coffee
A straight edge or T-square to guide your cuts and keep everything straight
A hammer gently wielded to tap boards snugly into place without a fuss
A tapping block to snug cork pieces together tight as a drum all without a scratch
Safety gear like gloves goggles and knee pads since a little protection goes a long way
A moisture barrier if you need to guard against sneaky subfloor dampness
Preparing Your Area for Cork Flooring Installation
Getting your workspace ready is absolutely key before installing cork flooring. That means clearing out the room and moving those pesky furniture pieces. You should also give your subfloor a good once-over to make sure it’s flat and solid. You will want to give your cork planks or tiles time to acclimate to the room’s environment.
Carefully remove the existing flooring and baseboards to avoid any surprise scrapings or dings
Give the subfloor a thorough clean and let it dry completely—dust and debris have a knack for sneaking in when you least want them
A smooth surface will save you headaches down the line
If your subfloor needs it, apply a moisture barrier during installation to keep things dry
Let the cork flooring hang out in the room where it will be installed for at least 48 hours—this acclimation period helps it settle in with the room’s humidity and temperature to get it ready for the big debut
Step-by-Step Guide on How to Install Cork Flooring (Because Every Room Deserves a Cozy Touch)
This section offers a straightforward easy-to-follow guide designed for beginners to install cork flooring successfully. Whether you’re tackling floating, glue-down or click-lock styles these instructions break the process down into simple steps.
1
Measure your room carefully and plan the flooring layout. Think about the direction and pattern of the planks to create a visual effect that feels right for your space.
2
If your cork flooring needs underlayment, install it first. It adds a nice cushion underfoot and an extra layer of defense against moisture—always a good call.
3
Begin laying the cork planks or tiles from one corner, usually along the longest straight wall. Make sure the tongue side faces the wall. It sounds simple but getting this step right saves a lot of headaches later.
4
Place spacers between the wall and flooring to keep an expansion gap of about 1/4 to 1/2 inch. This gap lets your floor breathe and move naturally without buckling.
5
With floating or click-lock flooring, lock the planks together carefully following the manufacturer’s instructions like your flooring’s life depends on it. For glue-down types, spread the adhesive evenly with a trowel before setting the planks—don't be stingy on the glue.
6
Use a tapping block to gently nudge the cork pieces together ensuring a snug fit without gaps or damage. Patience here really pays off.
7
Trim planks to fit snugly around edges, corners, vents and door frames using a utility knife or saw. A precise fit looks more professional and makes all the difference.
8
For glue-down installations, press the cork flooring firmly with a floor roller to lock in strong adhesion. It’s a workout but worth every bit.
9
Once you’re done, pull out the spacers and reinstall your baseboards or molding to neatly hide expansion gaps—the finishing touch that pulls the whole room together.
10
Give your floor a thorough cleaning to whisk away any leftover adhesive or dust. Nothing beats seeing your hard work shine through spotless floors.
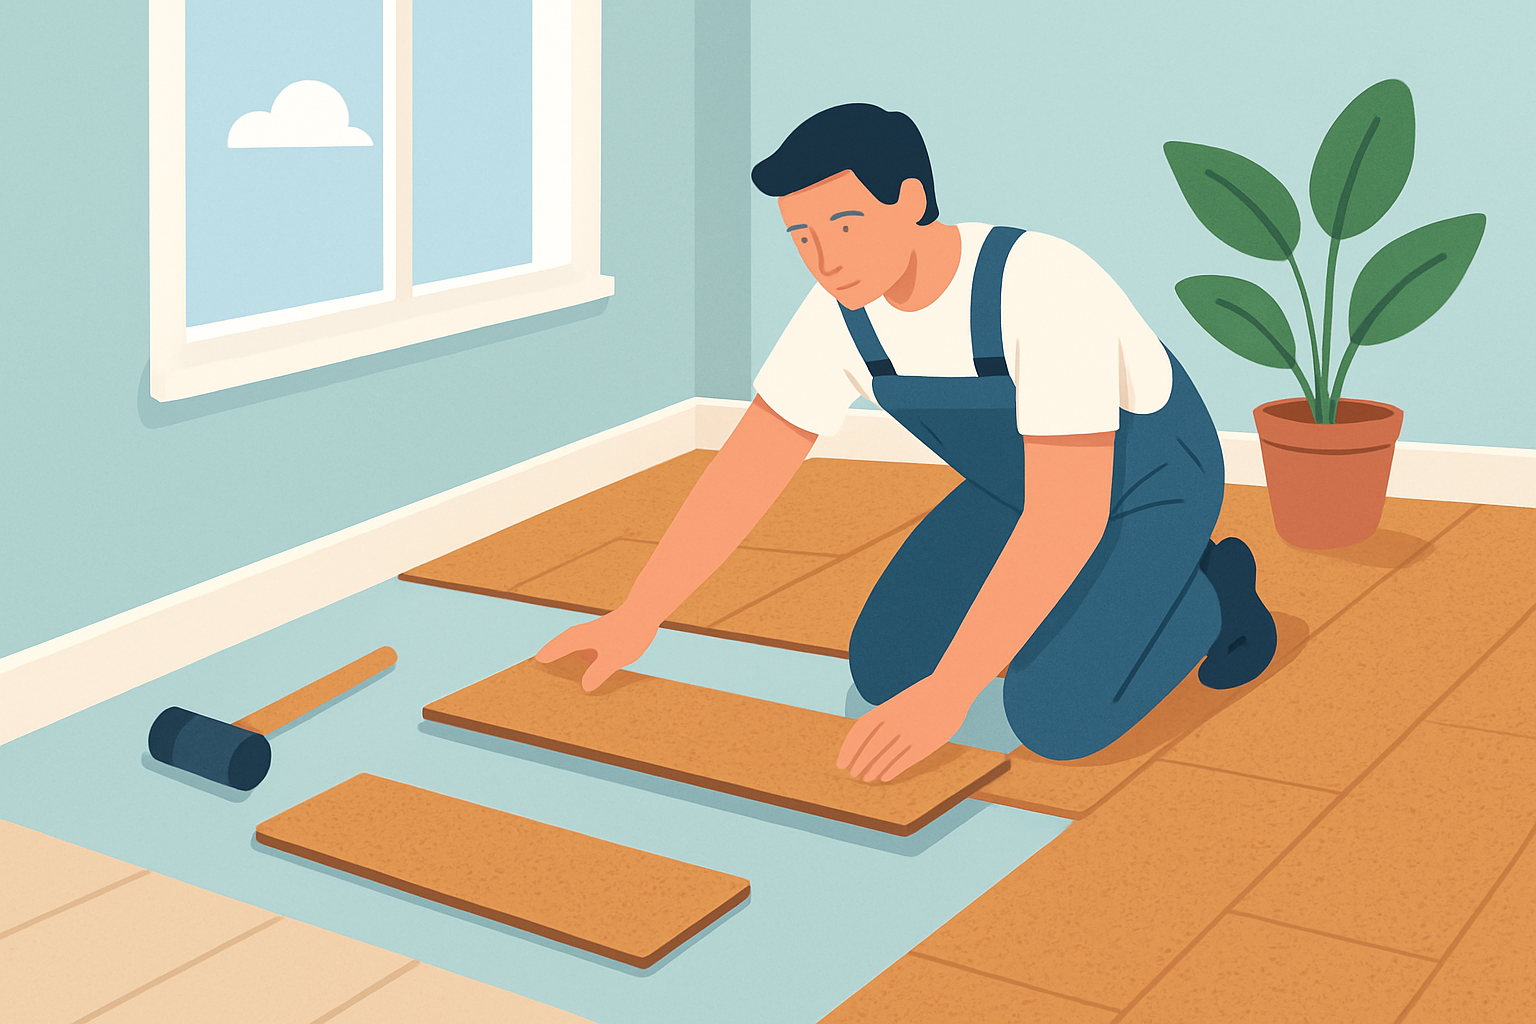
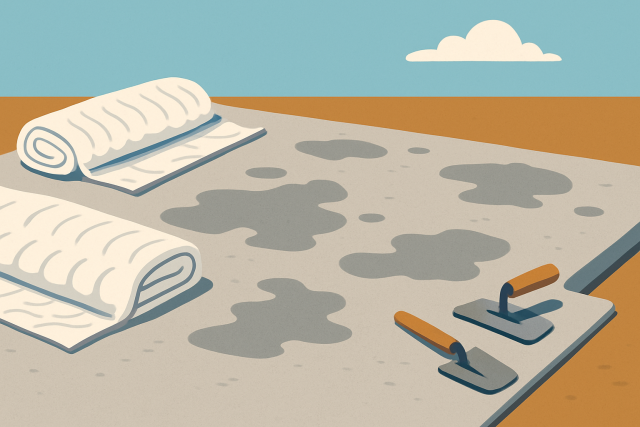
Visual guide showing a homeowner installing cork flooring with tools and planks laid out.
When you’re cutting carefully around corners or vents that always seem to throw you off, it’s worth marking the cork plank precisely before diving in. Grab a straight edge to steer your utility knife so you’ll get clean lines instead of jagged messes. When dealing with curves, relief cuts can be a real lifesaver.
Typical Challenges You Might Face When Installing Cork Flooring and How to Tackle Them Like a Pro
Uneven or damaged subfloors that cause instability or gaps beneath the cork
Forgetting to leave proper expansion gaps that often lead to buckling or warping later
Adhesive drying patchily and weakening the bond between planks
Fluctuations in room temperature and humidity that affect how the cork expands and contracts
Gaps appearing between planks or edges lifting over time, usually from imperfect installation
You can dodge these headaches by carefully prepping the subfloor and sticking to the recommended adhesives. Giving everything ample curing time really pays off. It also helps to keep room conditions steady during and after installation and never skip the expansion gaps the manufacturer suggests.
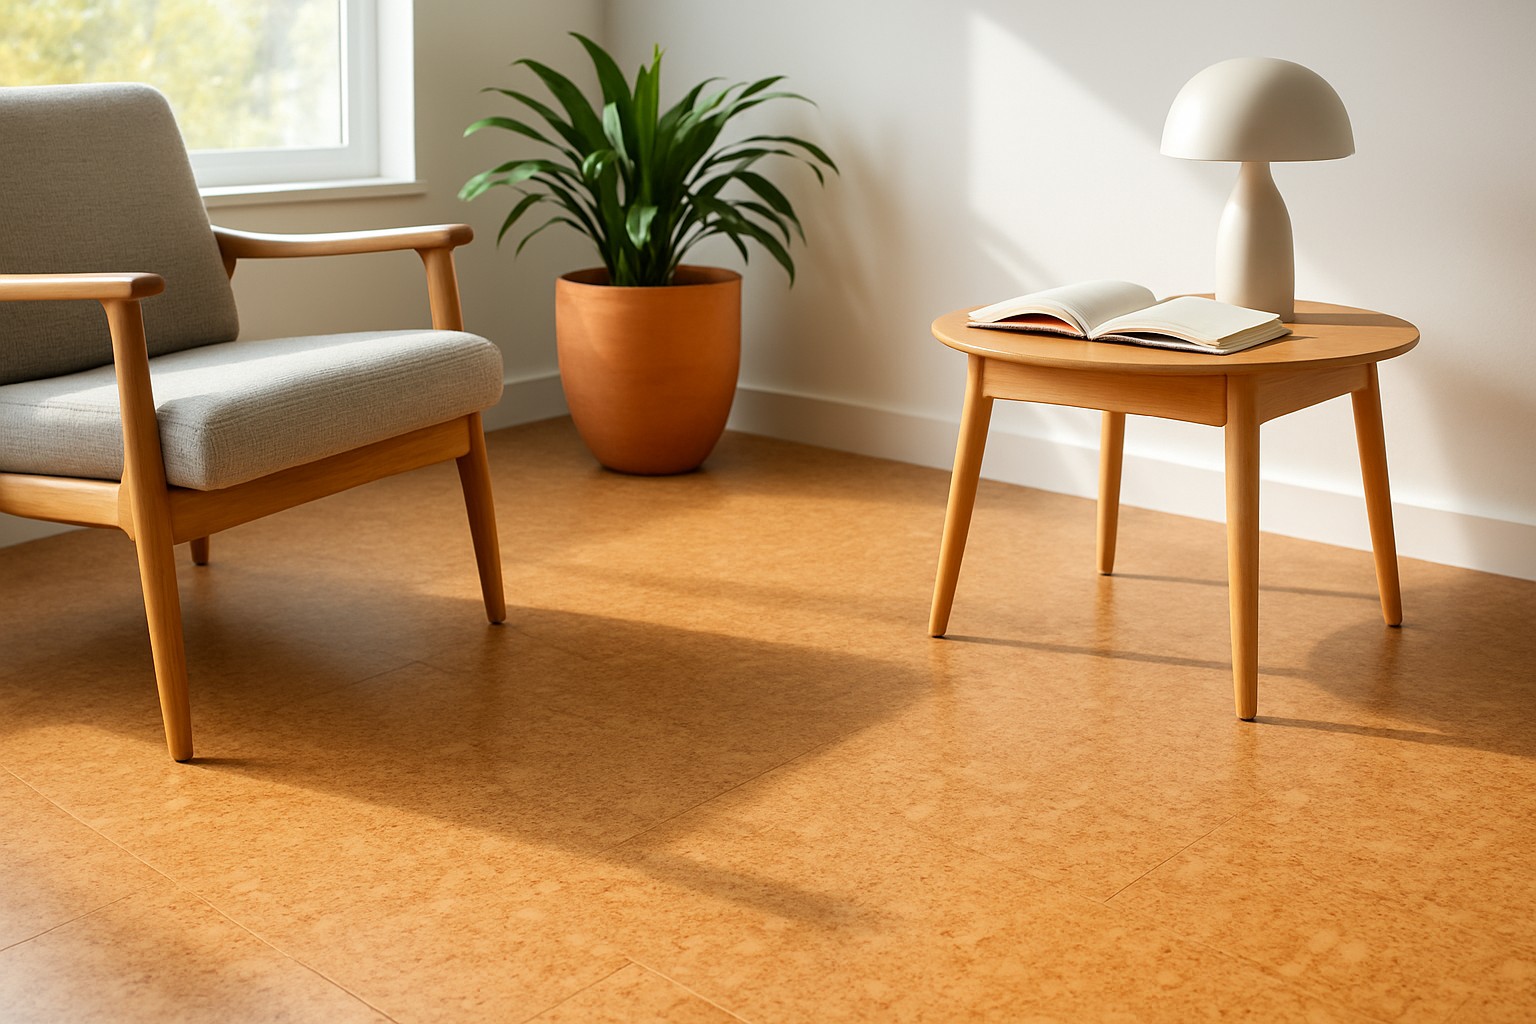
Finishing Touches for Sealing and Maintaining Your New Cork Floor Easily
Understanding how to install cork flooring properly is key, as sealing it acts like a trusty shield against moisture, stains, and the daily grind. Some pre-finished cork varieties might skip that extra sealing step altogether.
Go for water-based polyurethane sealers designed specifically for cork floors to really up their durability game
Stick to gentle pH-neutral cleaners and avoid harsh chemicals or anything abrasive that could rough up the surface
Slip felt pads under your furniture legs to keep dents and scratches at bay—it's like giving your floor a little insurance policy
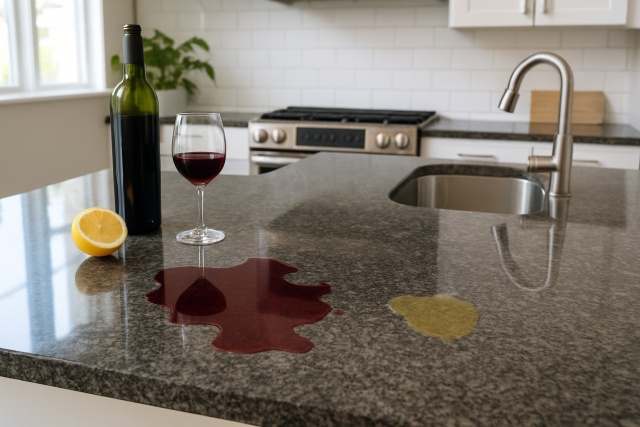
Wipe up spills promptly to dodge stains or water damage that sneak in when you are not looking
Make it a habit to sweep or vacuum regularly so dust and grit don’t wear down that nice finish
Refresh the sealant every few years or follow the manufacturer’s recommendations to keep things looking sharp and lasting longer
As a researcher in digital wellness studies, she examines the intersection of technology and mental health, offering evidence-based strategies for thriving in our connected world.