This guide takes you by the hand through wiring lights in your shed and covers everything from initial planning to keeping things running smoothly.
Get the lowdown on planning your lighting layout and picking fixtures that suit your shed’s unique setup.
Discover the tools and materials you can’t skip to keep your DIY project safe and up to code.
Follow straightforward step-by-step instructions for wiring your lights from fixture installation to making connections rock solid.
Tackle common headaches like moisture and voltage drops so your lighting system stays dependable in any weather.
Dive into handy maintenance tips that help your shed lights shine bright and work smoothly for years.
Installing shed lights inside yourself can really change the game when it comes to using your shed. It makes the space not only more functional but also much safer. Good lighting doesn’t just help you see better in the dark, it also reduces the chances of accidents and can save you money since you won’t need to call an electrician.
There are plenty of options to choose from stretching all the way from simple battery-powered fixtures to those hardwired LED lights that really mean business. Installing shed lights inside usually turns out to be a wallet-friendly and totally doable project.
How to Plan Your Shed Lighting Setup Without Losing Your Mind
Pause for a moment to size up your shed’s electrical needs. Consider the space you’re working with and the amount of power available. Think about the type of lighting you want. You’ll want to figure out if your power will come from your home’s supply, solar panels or a trusty generator.
Think about your shed's size and layout to figure out how many lights you will need and where they'll shine best for full coverage.
Keep in mind how close and easy to reach your power source is whether that is the main electrical panel inside your home or a handy outdoor outlet.
Choose light fixtures that fit how you use your shed—robust LEDs if it’s your workshop or softer cozier lighting if it’s more of a chill-out spot.
Plan ahead where your switches and outlets should go so they are convenient to use and practical in the long run.
Don’t forget to peek at your local electrical codes and safety rules. It is better to be safe than sorry when it comes to keeping everything up to code and secure.
Key Tools and Materials You’ll Want for Your Wiring Project
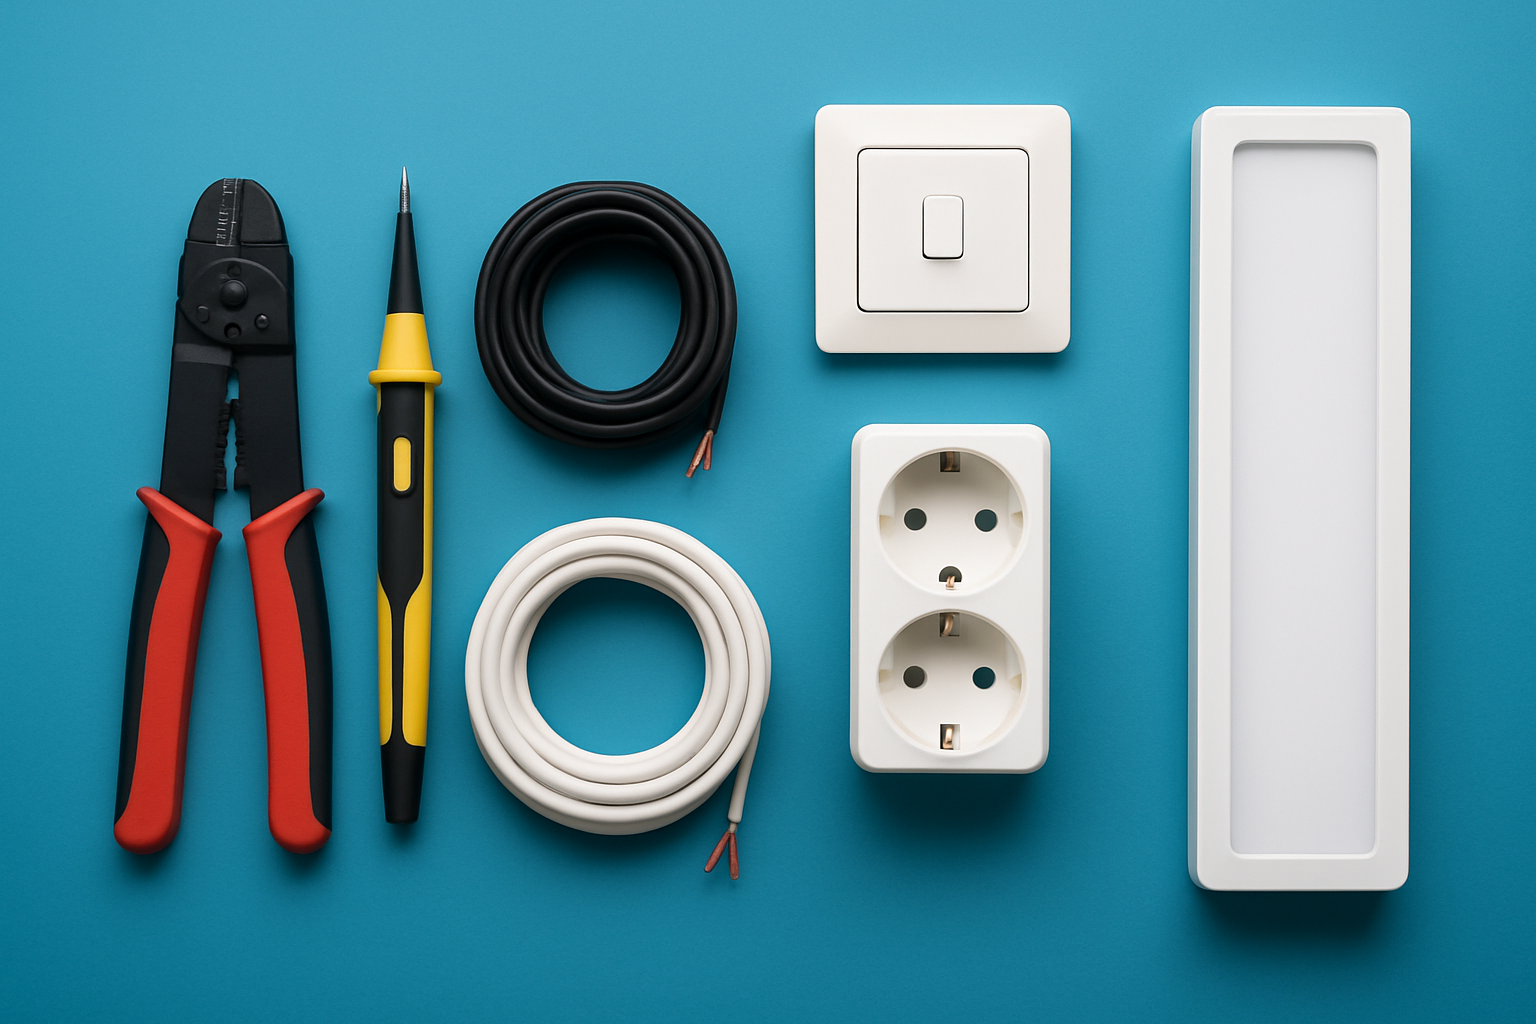
Wire strippers to gently peel away insulation from electrical wires without a fuss.
Screwdrivers of various sizes and types, perfect for mounting and securely fastening fixtures.
A trusty voltage tester to double-check that circuits are dead before you start fiddling around. Better safe than sorry.
An electric drill with the right bits for drilling neat holes in framing or panels to make your job smoother.
Electrical cables suited for outdoor or damp spots, usually 14/2 or 12/2 gauge wires built tough to handle the elements.
Connectors like wire nuts or terminal blocks that create snug insulated connections with no loose ends.
Solid switches and weather-resistant light fixtures designed to brave shed environments without issue.
Conduit or cable clamps that keep your wiring safe from damage while tidying the whole setup like a pro.
Wearing safety gear like insulated gloves and eye protection is a must throughout the whole project. It’s one of those things you don’t want to skimp on. Also be sure all materials meet your local electrical standards, especially if they face moisture or the outdoors.
Essential tools and materials prepared for wiring shed lights inside.
A Plainspoken, Step-By-Step Guide to Wiring Lights Inside Your Shed
1
Start sketching out a wiring diagram that maps where your lights, switches, outlets and power source will go. It’s like drawing a treasure map—you get a clear view of the paths and can better figure out what materials you’ll actually need.
2
Before you do anything else always flip off the power at the main breaker panel. It’s the easiest way to keep yourself out of harm’s way.
3
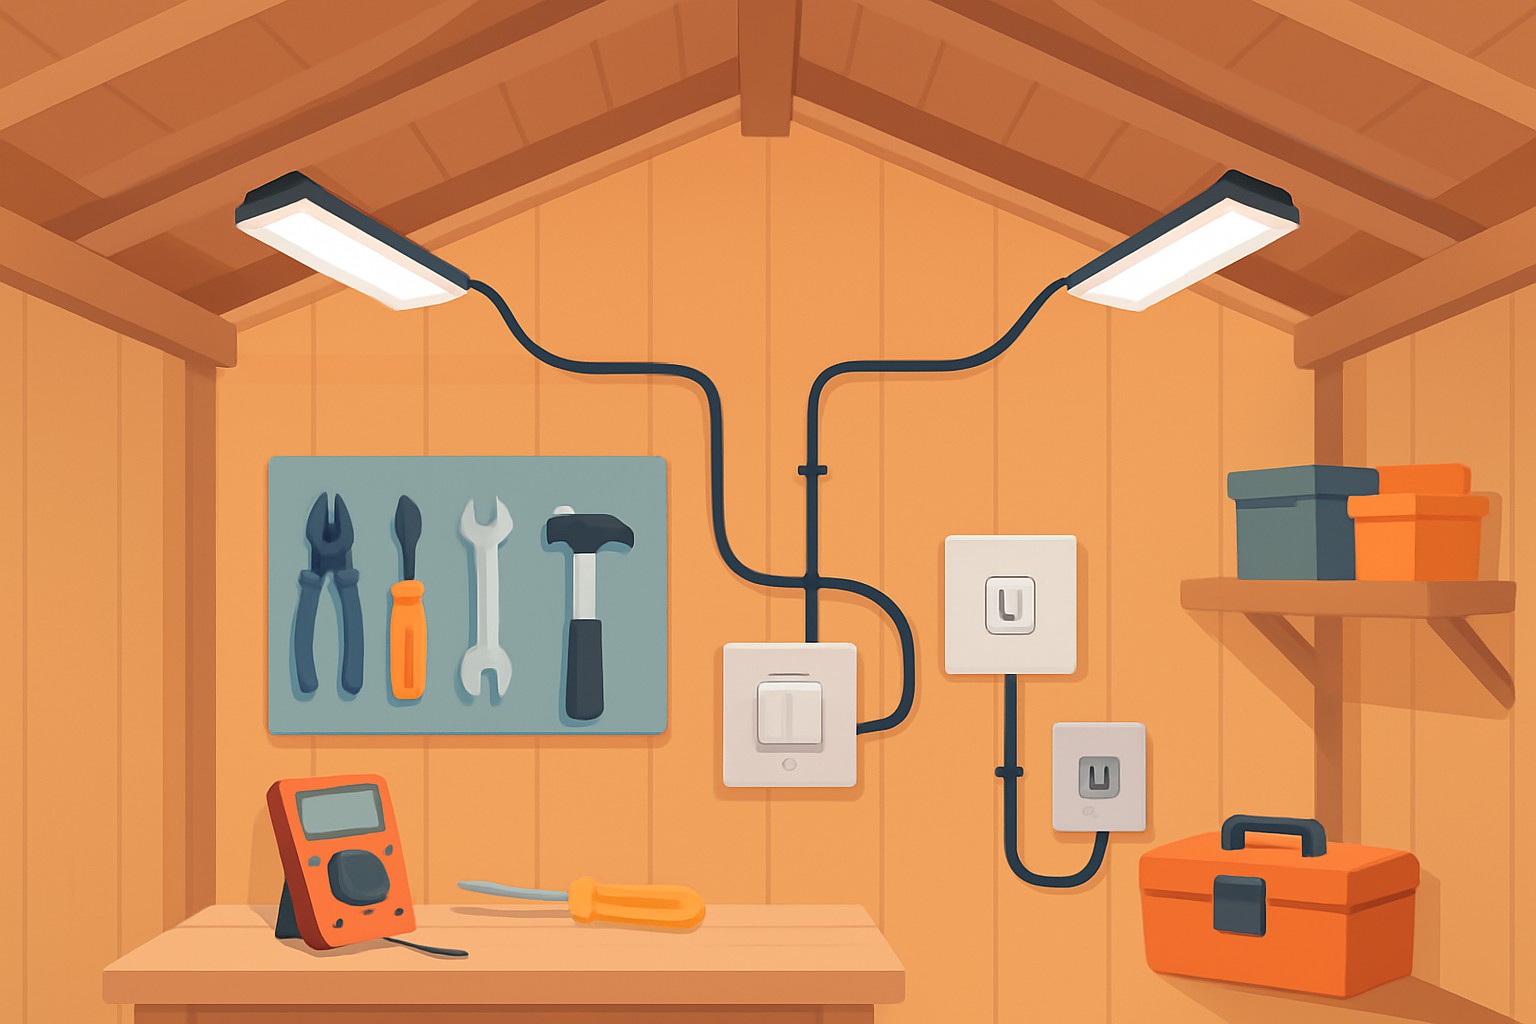
Next up install your light fixtures and switches exactly where you planned. Make sure they’re mounted snugly and placed just right so you’re not left squinting in the dark.
4
Run your electrical cables through conduit or protective channels along the walls and ceilings. Avoid sharp bends or tight spots where cables could get pinched—wires don’t like being squeezed any more than we do.
5
Connect your wires to switches and fixtures with wire nuts matching colors carefully—black for live, white for neutral and green or bare copper for ground. It is a bit like color-coding your socks just way more important.
6
Once everything’s in place turn the power back on and test each light and switch. This step will let you catch any hiccups before they turn into headaches.
7
Finally tidy up by securing all wiring with clamps or ties and covering junction boxes with approved plates. This protects your connections and keeps your workspace looking neat and professional.
Careful circuit planning really pays off by saving you a lot of time and helping you avoid rookie mistakes like wiring that’s too short or fixtures awkwardly placed. Always make sure the power is completely off before you even think about touching any wires. It’s worth using a voltage tester as well instead of relying only on the breaker’s position. When you’re mounting fixtures, try to keep them away from direct heat or moisture since those elements can cause trouble. Running cables inside conduit is not just for show because it protects them from wear and tear and keeps everything looking neat and tidy. Getting your wire colors right isn’t just about aesthetics since it helps prevent short circuits and keeps connections snug and reliable. Test everything thoroughly before you seal up the junction boxes because it will save you from headaches later if something is wrong.
Common Challenges and How to Tackle Them Head-On
Squeezing cables through tight or crowded wiring spaces can be a headache but using flexible conduits and carefully mapping out your cable routes usually smooths things out.
Making sure all your connections are waterproof or at least resistant to moisture is important. I’ve found that pairing outdoor-rated connectors with a dab of silicone sealant keeps corrosion from sneaking in.
To dodge voltage drops on long cable runs, it pays off to pick the right wire gauge and add extra power sources or boosters to be safe.
Staying on the right side of electrical codes means reviewing local rules, grabbing permits when needed, and using materials that meet code requirements.
When working with limited power sources like solar, it’s smart to choose energy-efficient fixtures and add extra battery storage so your lighting stays steady and reliable with no surprises.
When planning and installing, it’s wise to take things slow and steady to dodge those all-too-common slip-ups. Picking out high-quality materials that fit your specific environment is key, and don’t hesitate to double-check local electrical codes or trusted online resources if you need a little extra reassurance. Waterproof connectors and sealed conduits might be small investments, but they’re surprisingly budget-friendly and can really give your system a longer lease on life. Should any hiccups pop up, take a step back and carefully inspect each wiring connection.
Tips for Keeping Your Shed Lights in Good Shape
Keeping those shed lights shining bright doesn’t have to be a chore. With just a little sprinkle of attention now and then, you can avoid the headaches and keep things glowing just right.
Keep an eye on your wiring regularly for signs of wear or damage and loose connections that can become real hazards if ignored.
Give your light fixtures a good once-over now and then to sweep away dust and cobwebs—those nuisances can dull the brightness over time.
Check the conduit and clamps to make sure everything stays secure and protected because a little vigilance goes a long way.
Swap out bulbs as soon as they burn out or start to lose their sparkle. If you’re feeling adventurous, upgrade to LED bulbs to save money and get longer life.
Upgrade your shed lighting to energy-efficient models—it’s a smart move that trims your electricity bills and gives you better-quality light.
Keeping your shed lights inside safe and running smoothly really depends on good old-fashioned maintenance. Dust and debris don’t just dull the glow. If left unchecked, they can turn into fire hazards. Regularly checking your wiring helps catch small issues before they become major headaches. Using LED bulbs usually cuts energy use and means you won’t need to replace them as often, saving you time and money.
Driven by a passion for culinary history, this food writer explores how ancient cooking techniques and forgotten ingredients can revolutionize modern home kitchens.