This handy guide takes you step-by-step through sprucing up your cabinet doors with trim and delivers a fresh, stylish kitchen makeover you’ll be proud of.
Discover how to breathe new life into tired old cabinets by adding trim that gives you a custom upscale look without breaking the bank
Dive into the best trim materials and styles that complement your kitchen or bathroom vibe
Get hands-on with straightforward steps for measuring, cutting and installing trim so your cabinets look sharp and polished
Pick up finishing tips the pros swear by to make sure your upgrade not only looks fantastic but stands the test of time
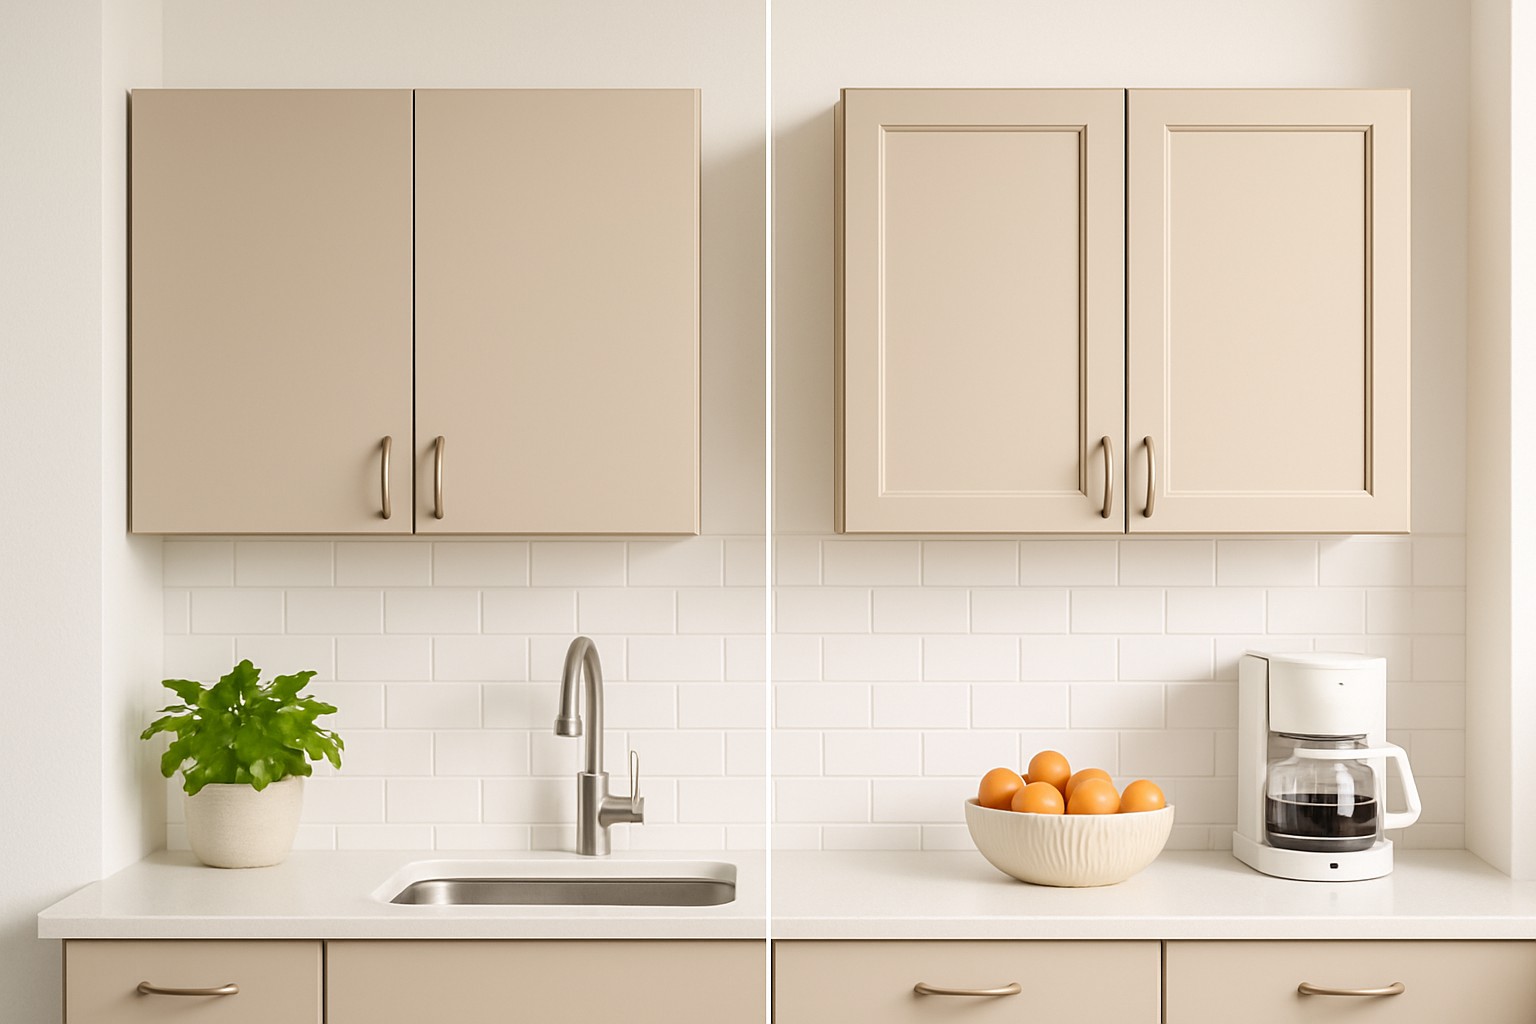
Adding trim to cabinet doors can truly transform the look of your cabinets without the hassle or expense of a full replacement. When your kitchen cabinets start to feel tired or show wear from daily life, a touch of trim brings the extra depth, style and character you have been craving. This step-by-step guide walks you through everything from picking the right materials to satisfying finishing touches.
This article explores the perks of adding trim to your cabinet doors and reviews materials and styles to suit your design taste. We’ll also guide you through essential tools and supplies you’ll want on hand plus easy-to-follow steps for prepping, measuring, cutting and installing trim correctly.
What’s the Point of Adding Trim to Cabinet Doors? Let’s Dig In
Adding trim is one of those straightforward tricks that can really pep up plain or worn cabinet doors. It injects some architectural flair by playing with depth and shadows. It’s a clever way to mask those little dings and imperfections that sneak onto cabinets over time. Beyond just making things look nicer, trim can subtly boost the perceived value of your kitchen or bathroom.
Adds depth and texture that really take your cabinets from blah to beautiful
Lets you put your own personal stamp on cabinet doors and make them truly yours
Cleverly hides annoying wear marks or outdated designs that are best forgotten
Boosts satisfaction by wrapping up a hands-on project you can actually see and be proud of
Provides a budget-friendly way to breathe new life into cabinets without the hassle of a full replacement
Picking the Best Trim Materials and Styles Because Details Matter
Choose trim materials by weighing your budget, durability, and ease of installation. MDF has a smooth surface that’s great for painting and usually won’t break the bank. However, it tends to fail when exposed to moisture. Solid wood trims bring classic charm and rugged durability. They are perfect for staining but often cost more. PVC trims resist moisture and are easy to clean, making them a solid choice for kitchens and bathrooms.
Material Type
Durability
Cost
Ease of Installation
Best Use Cases
MDF
Fairly durable, holds up well for most needs
Affordable
Pretty straightforward
Perfect for painted interior surfaces where you want a clean look
Solid Wood
Very durable, built to last a lifetime
Expensive
Takes a bit of skill
Great for natural or stained finishes that show off real wood’s charm
PVC
Highly durable and moisture-resistant—really tough stuff
Mid-range
Straightforward
Ideal for kitchens and bathrooms where water’s always lurking
Plywood Trim
Durable and leans toward the tougher side
Mid-range
Moderate difficulty
Best for painted finishes that need to stand the test of time
Polyurethane
Very durable and resists warping like a champ
Expensive
Requires moderate effort
Perfect for decorative or intricate trim where details really matter
Tools and Supplies You’ll Want to Have on Hand Before Adding Trim
Measuring tape to nail down spot-on measurements
Pencil handy for marking where to cut and place each piece
Combination square because keeping lines straight never goes out of style
Miter saw or trusty hand miter box for angled trims needing a precise touch
Wood glue to make sure everything sticks together like good friends
Finishing nails or a nail gun for securing it all without a fuss
Sandpaper to smooth away rough edges that might catch you off guard
Paint or stain to bring the trim’s look to life
Paintbrush or roller for spreading an even, beautiful coat
Clamps to hold the trim tight as the glue does its magic and dries
Investing in good tools like a sharp miter saw and dependable clamps can truly up your game by making your work quicker and accurate. Optional items like wood filler and painter’s tape often come in handy to nail a clean professional finish.
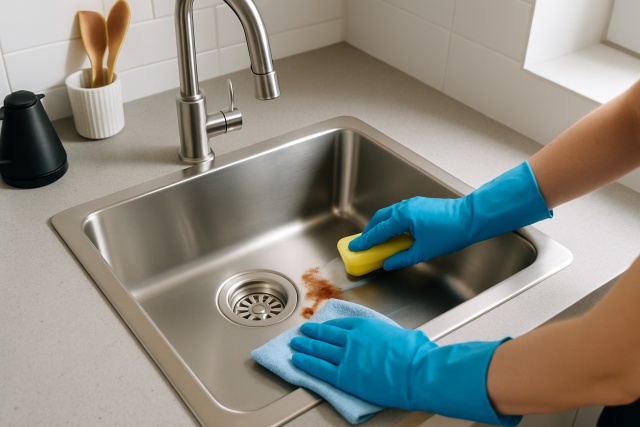
Getting Your Cabinet Doors Ready for Trim Installation
Before you start attaching the trim it’s a good idea to remove the cabinet doors and hardware first because this gives you plenty of elbow room to work your magic. Don’t skip giving all surfaces a thorough scrub. You want to wipe away any grease or dirt that might prevent the trim from sticking. A quick gentle sanding often helps the trim cling like it’s meant to be there.
1
Start by carefully prying off the cabinet doors using a screwdriver. Then set all the hardware aside somewhere safe because those little screws love to disappear.
2
After that, remove any knobs, handles or hinges still clinging to the doors.
3
Give all the surfaces a good clean with a gentle detergent or degreaser and be patient while everything dries completely. Rushing this step can cause problems later.
4
Lightly sand the faces and edges of the doors to create enough roughness so the glue will grip well.
5
Finally, take a close look for any damage. Fill in dents or scratches with wood filler and sand everything smooth once it’s dry to achieve a flawless finish.
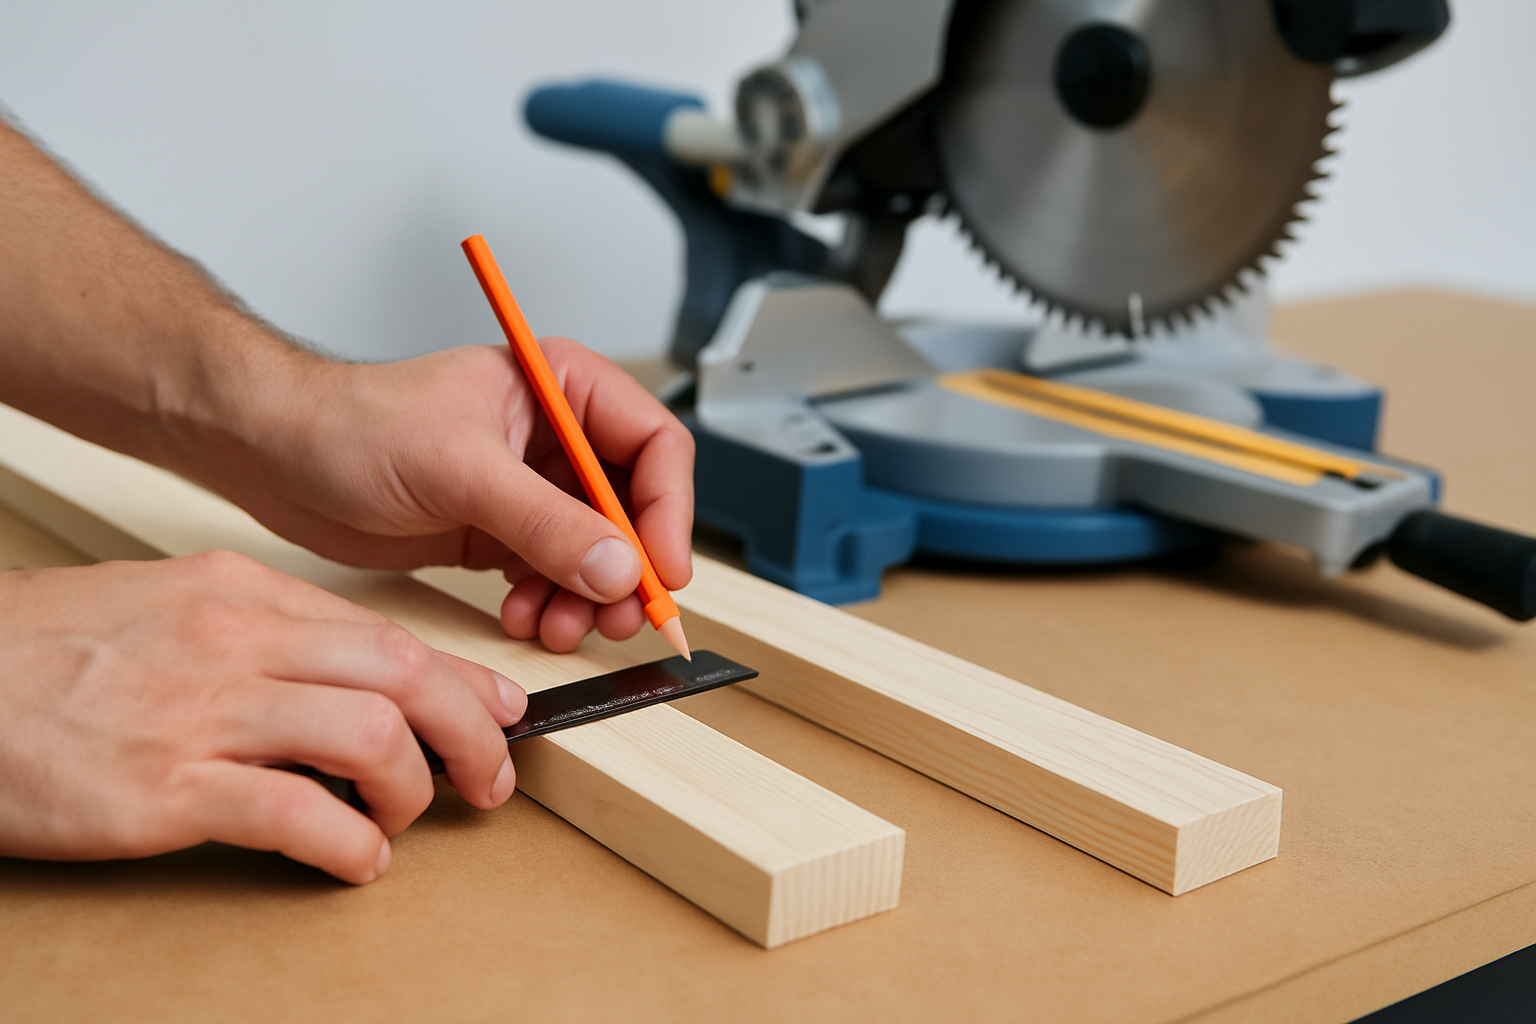
How to Measure and Cut Trim Precisely (Without Losing Your Mind)
Getting accurate measurements is absolutely important if you want a clean, polished finish that really shines. Start by measuring the perimeter of each cabinet door where you’re planning to add trim—no shortcuts here. A sharp pencil is your best friend for marking the trim material, and using a combination square makes all the difference to keep your cut lines perfectly straight or at a crisp 45 degrees.
Take your time to carefully measure both the length and width of the cabinet door. Getting this right upfront will save you headaches later.
Mark those cut lines clearly on your trim with a pencil because a fuzzy line leads to trouble.
Grab a combination square to make sure your lines are not just straight but perfectly angled because precision matters here.
Double-check all your measurements before you even think about cutting. Trust me, it’s worth the extra glance to avoid costly mistakes.
When it’s time to cut, go slow and steady with the miter saw. Clean, crisp edges are the goal so there’s no need to rush and mess it up.
Measuring and marking trim pieces precisely using a combination square and pencil
Attaching Trim to Cabinet Doors Step by Step (Without Losing Your Mind)
When applying the trim, take your time to place it just right and secure it for a smooth professional finish. Spread wood glue along the edges to build a strong bond. Then carefully set the trim where it needs to sit on the door surface. Use finishing nails or a nail gun to keep the pieces firmly in place. If needed, clamp them down until the glue has fully set.
1
Spread a thin, even line of wood glue along the back edges of each trim piece—just enough to do the job without any messy overflow
2
Carefully place the trim onto the cabinet door, taking a moment to make sure all the corners and edges line up nicely like a perfect puzzle
3
Secure the trim with finishing nails or a nail gun, giving it that extra hold so it won’t budge
4
Clamp the trim firmly and hold tight until the glue has fully dried—it's worth the patience to get a solid, lasting bond
5
Fill any tiny gaps or nail holes with wood filler, then let it dry completely before celebrating your handiwork
How to Put the Finishing Touches on Your Trimmed Cabinet Doors
Once you have attached the trim and let any fillers dry, gently sand the surface to even out rough patches. If painting is on your to-do list, starting with a primer really helps the paint stick better—I’ve found it’s a game changer. Whether you choose paint or stain, apply thin even coats and let the color build slowly rather than rushing it. Finally, finish with a sealant or protective varnish to guard the surface and add durability.
Sand the trim gently with fine-grit sandpaper once it is firmly in place—you don’t want to overdo it but just smooth things out
If you’re gearing up to paint a good primer helps the paint stick like glue and last longer
Apply paint or stain in thin even layers and let each one dry completely before adding the next. Patience really pays off here
Double-check that each coat is fully dry to avoid drips that can ruin your hard work
Wrap things up by sealing the surface with a clear sealer or polyurethane. This step is like giving your project a suit of armor and keeps it protected for the long haul
Tips for Avoiding Those All-Too-Common Slip-Ups When Installing Trim
DIY projects often throw curveballs whether it is measurements that are slightly off nails that just won’t grip right or those pesky nail holes that demand attention once the job is done. Patience really pays off here. Take your time with the cuts and double-check your measurements carefully. Clamps are your best friend for holding the trim steady while glue or paint dries because they prevent everything from shifting around. Don’t rush the finish. Fill those nail holes thoughtfully and use painter’s tape to keep your paint edges sharp and neat.
It’s always wise to measure twice before you cut to avoid pesky mistakes
When gluing and drying, clamps keep trim exactly where you want it with no shifting
Take time to fill and sand nail holes carefully because it pays off when you’re ready to paint or stain
Slap painter’s tape along the trim edges for sharp clean lines that make your work look pro-level
Keep your trim boards stored flat and dry before installation to avoid warping surprises
Once your trim is installed and the paint or stain has fully dried go ahead and reattach all the hardware. Then, carefully slide those cabinet doors back into place, completing the process of adding trim to cabinet doors.
Driven by a passion for culinary history, this food writer explores how ancient cooking techniques and forgotten ingredients can revolutionize modern home kitchens.