Epoxy Resin Art for Beginners Made Simple and Fun

Epoxy resin art for beginners is a wonderfully versatile and fun way to create stunning glossy pieces and useful items. It’s surprisingly beginner-friendly because it involves a simple mix of resin and hardener that results in a crystal-clear durable surface you can make your own with all sorts of colors and textures.
If you’re curious about epoxy resin art and what makes it such a hit with beginners, you’ve landed in just the right place. It’s surprisingly approachable all you really need is a handful of tools and some easy-to-grasp techniques to get started.
What Is Epoxy Resin Art for Beginners? A Friendly and Easy Introduction
Epoxy resin art combines two liquid parts—a resin and a hardener—that react chemically to form a thick, clear and tough coating or casting. Artists often pour this glossy mixture over surfaces or craft it into stand-alone pieces. They frequently embed pigments, textures and decorative touches along the way.
- Epoxy Resin: A clear liquid magician's trick that cools down to a thick glossy finish catching everyone's eye.
- Hardener: The sidekick chemical that kicks the resin into gear and sparks the whole curing and toughening process.
- Pigments & Dyes: The artists here adding bold colors, subtle metallic gleams, or even a glow that makes things pop when the lights go down.
- Additives: Little extras like glitter, mica powder or tiny treasures mixed in to give your creation extra wow factor.
- Substrates: The trusty surfaces—wood, glass or silicone molds—where the resin gets its moment to shine.
- Popular Projects: Common go-tos include coasters, jewelry, wall art, tabletops and decorative trays everyone seems to love.
Key Terms Every Beginner Should Know (and probably chuckle at once they do)
| Term | Simple Definition | Why It Matters for Beginners |
|---|---|---|
| Curing | The chemical process where resin hardens over time | Knowing how long resin takes to cure can save you from impatience and last-minute panic, helping you plan your craft with a bit more zen |
| Mixing Ratio | The amount of resin compared to hardener | Nail the ratio just right, and your resin will set up like a charm instead of staying annoyingly sticky |
| Pot Life | The period resin stays workable after mixing | This tells you the window you’ve got to pour and shape before it starts getting firm — no surprises wanted |
| Blooming | A cloudy, whitish haze caused by moisture or reaction | Knowing what causes blooming means you can dodge that frustrating foggy look and keep your piece crystal clear |
| Torching | Applying heat to pop bubbles | A little heat goes a long way in chasing away bubbles, leaving you with a sleek, glassy finish |
Getting your head around these terms early on really smooths the way when diving into recipes or tutorials and safety advice. Take "curing" for example. Understanding it can save you from the classic blunder of rushing and mishandling wet resin. Then there is the "mixing ratio" because it is important. Even a tiny slip with too much or too little hardener can throw a wrench in your whole project.
Gathering Supplies The Must-Haves Every Beginner Should Have on Hand to Get Started
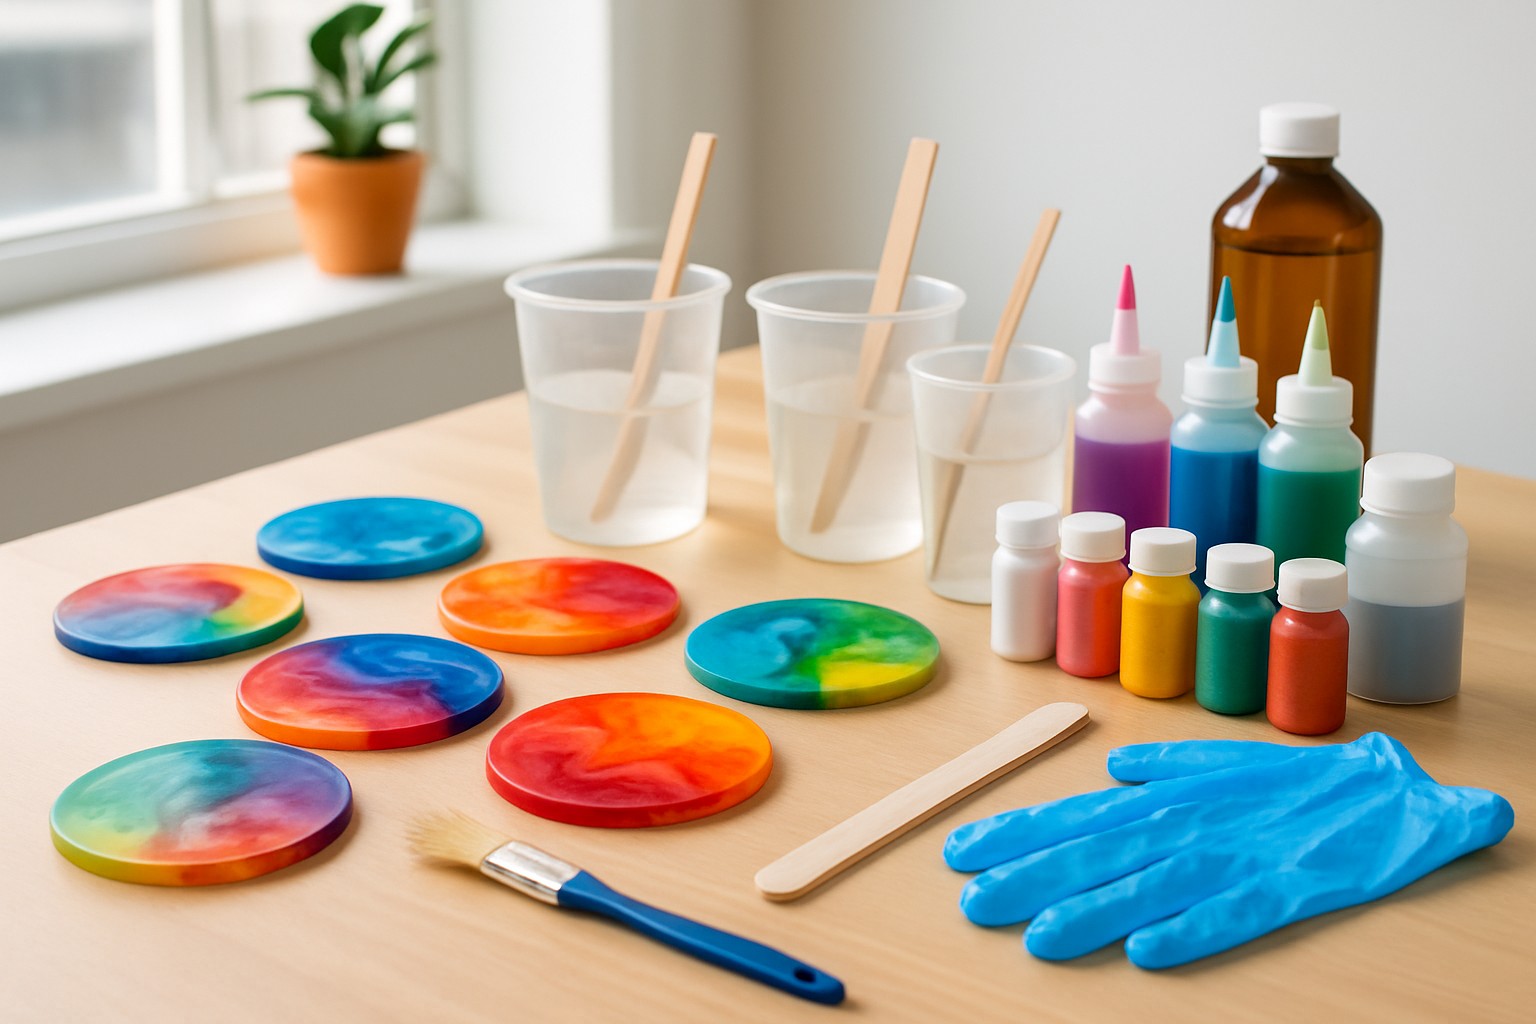
- Epoxy resin paired with a matching hardener. Beginner-friendly kits with clear, easy-to-follow instructions are a real lifesaver here.
- Disposable mixing cups and stir sticks for blending the resin and hardener smoothly.
- Protective gloves are a must to keep resin from sticking to your skin and causing unwanted drama.
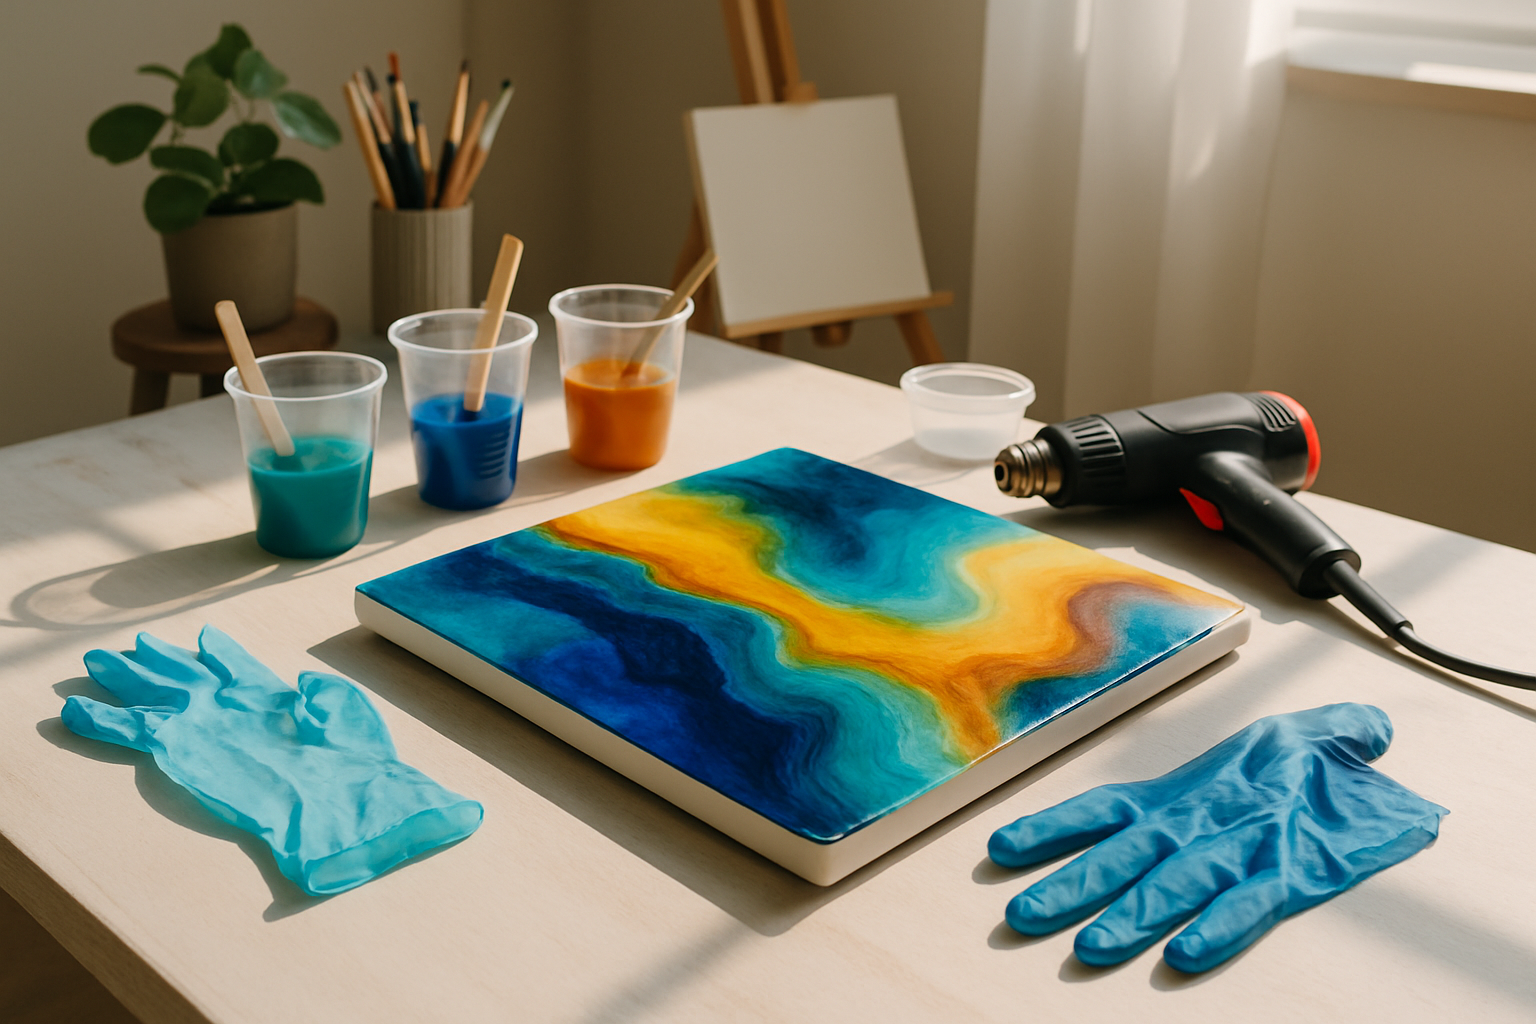
- A heat gun or small butane torch to gently chase away bubbles right after pouring and help you achieve a flawless finish.
- Silicone molds or smooth surfaces like wooden panels or trays to give your resin something solid to cling to.
- Pigments, dyes or mica powders to splash in vibrant colors and create eye-catching effects that pop.
- Safety gear like a respirator mask plus plenty of ventilation. Breathing easy while working is non-negotiable.
- Measuring tools, whether digital scales or cups with clear marks, to nail resin-to-hardener ratios just right every time.
Each item plays a important role: measuring tools keep everything spot-on accurate, while gloves step in to protect your skin from any unwanted mess. Silicone molds offer a simple, no-fuss way to shape your creations without the need for fancy equipment.
Step-by-Step Guide to Creating Your Very First Epoxy Resin Art Piece (No Experience Needed!)
Dive into a straightforward project like crafting a resin coaster. This step-by-step guide puts safety and clarity front and center, making it perfect for those just starting out. Just a heads-up—make sure you’re working in a well-ventilated spot and have your gloves on.
Start by covering your workspace with disposable paper or plastic. This simple prep step saves you from a world of mess and makes cleanup a breeze.
Measure the epoxy resin and hardener carefully using accurate tools. Make sure to follow the recommended mixing ratio which is usually around 1:1 or 2:1. Precision here is your best friend.
Stir the two parts thoroughly for 3 to 5 minutes while scraping the sides to blend everything well without whipping in too much air. Those pesky bubbles can cause real trouble.
Add your chosen pigments or additives to customize the color and texture exactly how you want so your creation feels truly your own.
Pour the mixed resin evenly into your silicone mold or onto the prepared surface. Take your time to avoid any uneven spots.
Gently wave a heat gun or torch over the surface to chase away any bubbles. Then let your piece cure undisturbed in a clean dust-free spot. Patience here really pays off.
In most cases it is anywhere from 24 to 72 hours depending on the resin brand and the thickness of your layer. If those pesky bubbles keep popping up a bit of slow stirring combined with gentle heat usually does the trick to calm them down. About mixing—does it have to be perfect? A slightly off mix can often leave you with sticky or soft spots so aiming for precision really pays off.

Helpful Tips to Make Your First Resin Art Project Both Successful and Enjoyable Because Getting It Right the First Time Feels Pretty Great
- Work in a clean, dust-free space to prevent particles from settling into your resin. It really makes a difference.
- Choose a slow-curing resin that is beginner-friendly. This gives you some breathing room so you don’t feel like you’re racing against the clock.
- Always measure your resin and hardener carefully because a small mistake can turn a perfect batch into a sticky mess.
- Start with small batches to get the hang of mixing and handling. There is no need to jump in the deep end right away.
- Experiment with layering colors and effects to add depth and create some eye-catching flair.
- Be patient and let the resin fully cure. Rushing usually brings out imperfections or that annoying stickiness nobody wants.
- Clean your tools right after use since catching them early keeps them in good shape and saves you from scrubbing later.
Early mistakes are just part and parcel of learning resin art, so don’t let them get you down. It’s in the messy experimenting that your creativity really starts to sparkle.
Typical Challenges Beginners Face and How to Tackle Them Like a Pro
Many beginners often run into pesky challenges like bubbles trapped in resin, uneven curing that will not quit, sticky surfaces that feel like glue, and annoying discoloration. The good news is most of these hiccups can be smoothed out with a few simple tweaks. Try mixing more carefully because patience is key. You can also adjust the room temperature or humidity or choose a resin brand that’s kinder to those just dipping their toes in.
- Gently and evenly wave a heat gun or torch over your pour right after pouring to give those pesky bubbles a nudge and help them disappear.
- Set yourself up in a steady spot where the temperature is just right and the humidity stays low because this little trick keeps the curing process nice and consistent.
- Take your time stirring the resin and hardener. A slow, thorough mix is your best bet to avoid air getting trapped and causing unwanted bubbles.
- Pick a high-quality resin brand that’s friendly enough for beginners and has earned a solid reputation for reliability since it makes a world of difference.
- After everything’s fully cured, tackle any sticky spots by gently rubbing with isopropyl alcohol or doing a light sanding. No need to rush because a gentle touch goes a long way.
Growing Your Skills with Easy Next Steps for New Resin Artists Who Want to Level Up
Once you've got the hang of basic epoxy resin art for beginners and feel comfortable, branch out a bit. Experiment with different molds or mix resin with materials like wood, metals or dried flowers to give your pieces a unique twist. Playing around with advanced color effects, layering methods and resin inpainting can really bring an extra layer of depth—sometimes the difference between a nice piece and one that truly turns heads.
- Give silicone molds designed specifically for resin jewelry and tiny art projects a whirl—they really make shaping easier.
- Toss in some natural elements like pressed flowers, leaves or a sprinkle of sand to infuse your creations with a distinctly earthy one-of-a-kind vibe.
- Layer your resin slowly mixing in different pigments step by step to build up rich depth and cool 3D effects that really pop.
- Try your hand at resin inpainting to add delicate fine details on cured surfaces—it’s like painting but with a twist.
- Dive into online resin art communities binge-watch tutorials and jump into challenges to keep that creative spark buzzing—it really helps keep the ideas flowing when you hit a block.
References
Driven by a passion for culinary history, this food writer explores how ancient cooking techniques and forgotten ingredients can revolutionize modern home kitchens.
Read Pages


