Can You Sand Veneer and Refinish to Restore Old Furniture?

Veneer furniture features a thin slice of real wood glued over less expensive materials, giving you the charm of solid wood without the high price. Many wonder: can you sand veneer and refinish it? This budget-friendly option is a favorite for its good looks, but tends to show its age with scratches or water rings as time goes by.
Absolutely but you’ve got to tread lightly. Veneer is super thin—often just a sliver thicker than a pancake—so if you go at it like a tornado you might sand right through it and wreck the whole thing. That said, if you approach it with a gentle hand and the proper techniques you can smooth out those little imperfections and really bring the surface back to life. Sometimes though sanding isn’t the best route. There are other refinishing tricks up your sleeve that might be less risky.
Understanding Veneer and What Sets It Apart from Solid Wood
Veneer is basically a super-thin slice of natural wood usually ranging from about 0.5mm to 3mm thick that’s glued onto base materials like plywood, MDF or particleboard.
- Veneer is typically much thinner than solid wood and often less than 1/16 inch thick so it’s pretty delicate stuff.
- It’s glued onto composite or less expensive core materials instead of hefty solid wood slabs which makes it a clever workaround.
- Veneer offers some flexibility but watch out if it’s not handled with care it can crack or peel which is a real pain.
- Sanding too aggressively can wear right through the veneer and leave the core exposed like an embarrassing secret.
- Furniture made with veneer usually comes with a friendlier price tag but it generally won’t stand the test of time like solid wood pieces do.
When and Why You Should Sand Veneer Furniture
It’s key to know when your veneer needs sanding to avoid making things worse. Typically, if the finish looks tired or dull, has light scratches, or shows water stains, it’s time to grab the sandpaper. If you notice the veneer peeling or bubbling, sanding with some repair work usually brings it back to life before you refinish.
- Surface scratches and scuffs that dull the wood’s natural sparkle and make it look tired
- Finish that has faded or turned yellow over time often from too much sun exposure
- Water stains or those pesky rings that leave their mark on the veneer and steal its charm
- Veneer edges that are peeling or bubbling up and need a little TLC to smooth things over
- Small chips or dents here and there that catch your eye and interrupt the flow
- Wax or dirt buildup that’s been clinging on too long and needs to be stripped away before refinishing
Sanding veneer can be done but it’s a bit of a tightrope walk when the veneer is super thin or cracked or seriously battered. Go at it too hard with the sandpaper and you could wear right through the veneer, exposing what is underneath—definitely not the look you are after. It might just turn a simple fix into a total makeover disaster.
What You’ll Need to Sand and Refinish Veneer
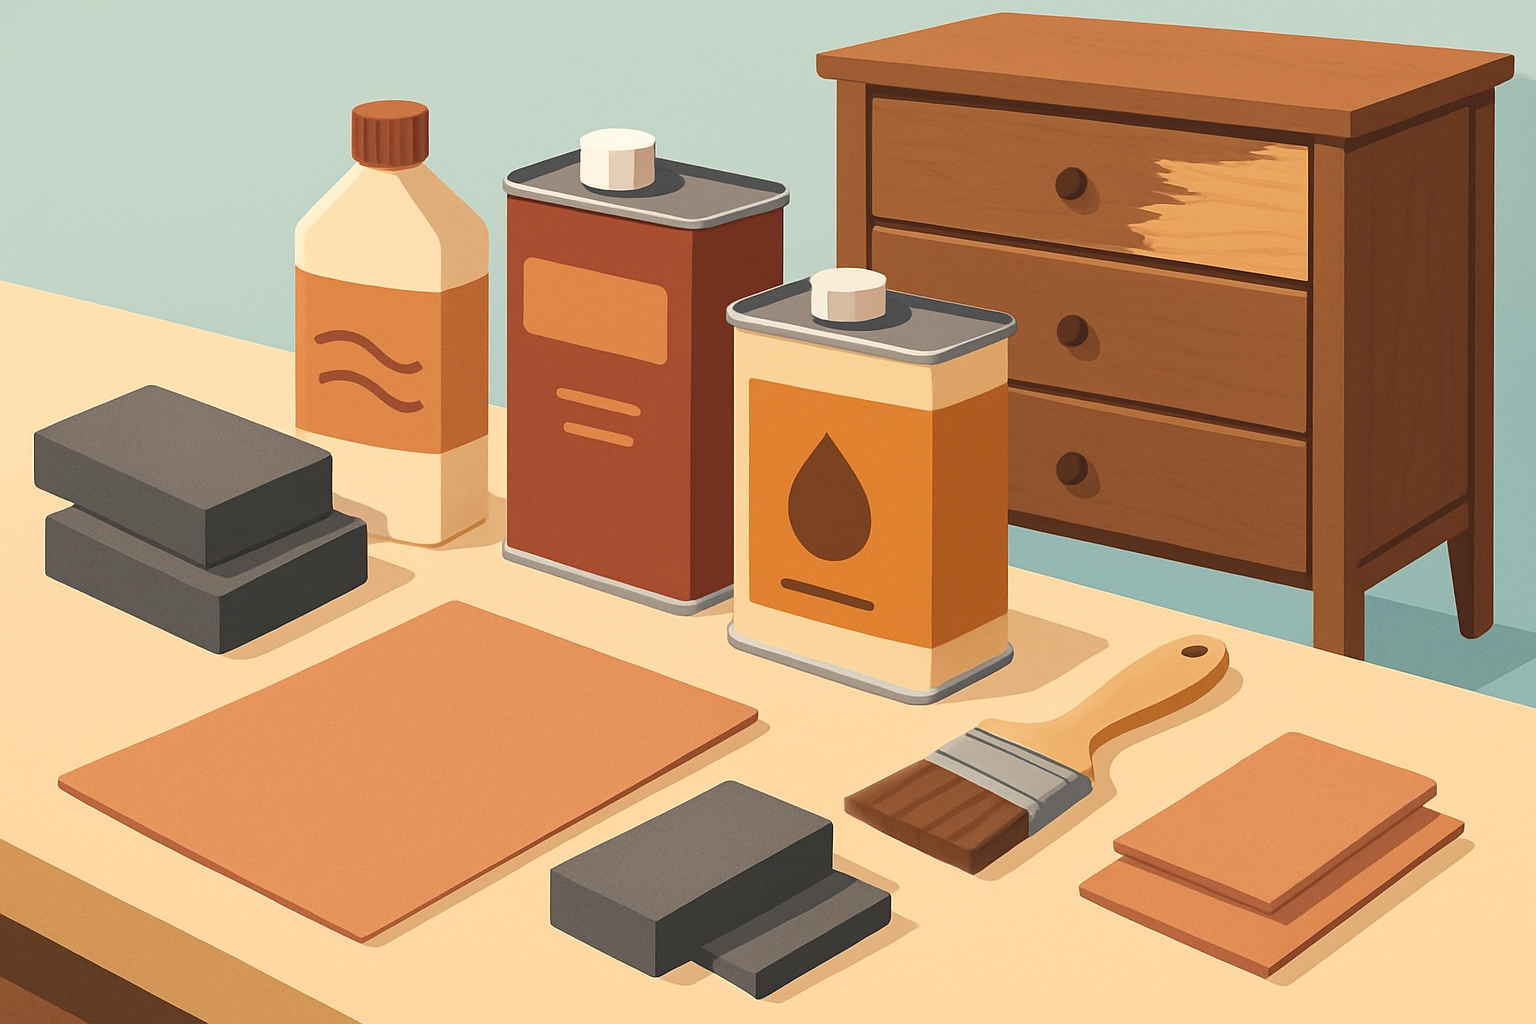
Refinishing veneer requires a gentle touch and some specific tools and supplies for its delicate surface. You will want fine grit sandpapers and sanding blocks to avoid going too rough. Use chemical strippers to carefully peel away old finishes, wood fillers for tiny dings and scratches, and stains, sealers, and clear finishes like lacquer or polyurethane to restore it.
| Tool/Material | Purpose | Recommended Types/Grades | Tips to Avoid Veneer Damage |
|---|---|---|---|
| Fine Grit Sandpaper | Smooth the surface and fix minor flaws | Grit between 220 and 320 is best | Use a light touch and avoid jumping to coarser grits that can be too rough |
| Sanding Block | Ensure even sanding across surface | Foam or rubber-backed blocks work well | Keeps sanding uniform and helps steer clear of wearing down the veneer unevenly |
| Chemical Stripper | Remove old finish safely | Strippers suitable for veneer | Always try it on a hidden spot first; don’t let it sit too long or it can do more harm than good |
| Wood Filler | Fill chips or small holes | Light-colored, thin fillers | Pick a shade close to your veneer and use sparingly—it’s easy to go overboard |
| Stain | Bring back color and depth | Thin, gel, or water-based stains | Apply in thin layers and wipe off any extra quickly to avoid blotching |
| Sealer and Finish | Shield surface and add shine | Lacquer, polyurethane, or shellac | Several thin coats work wonders; patience here really pays off as you let each layer dry fully |

Step-by-Step Guide: Can You Sand Veneer and Refinish It to Bring Old Furniture Back to Life?
Start by giving the veneer surface a careful clean using a mild detergent or wood cleaner. This helps remove dirt, grease and stubborn old wax that’s stuck on.
Check for any damage like chips, peeling veneer or deep scratches that might need attention before sanding.
Protect any bare spots or nearby surfaces with painter’s tape or plastic sheeting to avoid accidental sanding.
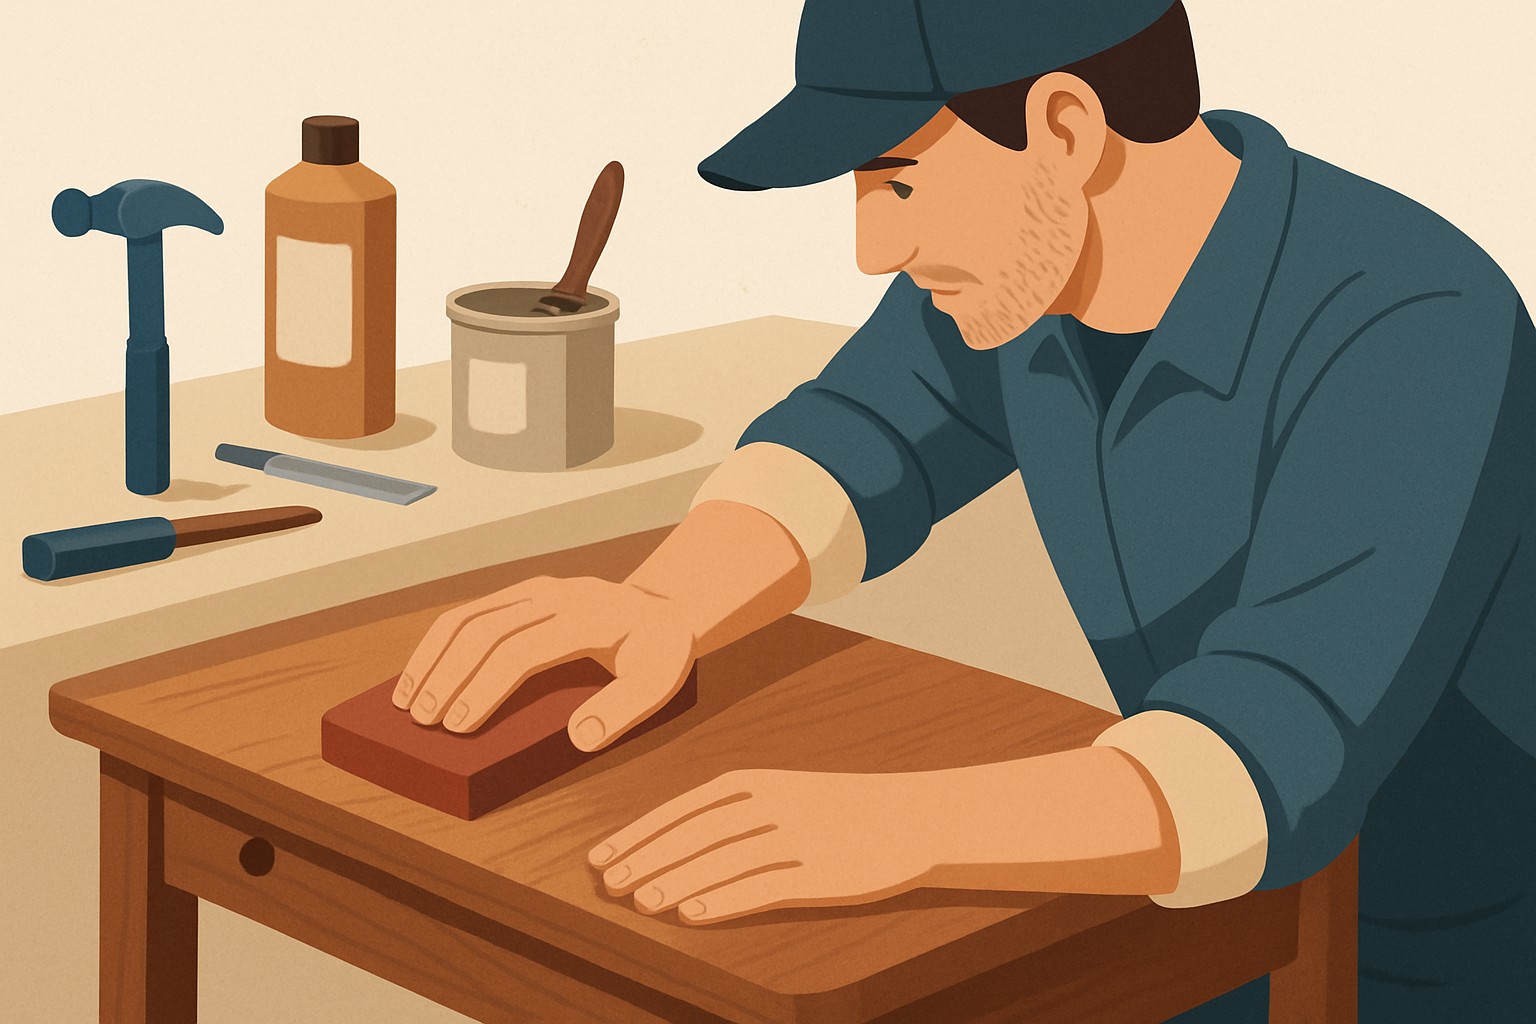
Use fine grit sandpaper (220 grit or finer) wrapped around a soft sanding block and apply gentle and even pressure.
Lightly sand problem areas with small circular or even strokes. Remember, less is more—you don’t want to sand too hard and go through the veneer.
For smaller chips or peeling edges wood filler made for veneer works best. Let it dry completely then sand lightly to blend it in seamlessly.
Remove all sanding dust thoroughly with a vacuum and a tack cloth. Dust is the enemy before staining.
Apply a thin layer of wood or gel stain to bring back the original color wiping off any excess to keep the finish even and avoid blotches.
Once the stain is dry apply a clear sealer like lacquer or polyurethane in thin, even coats. Allow each coat to dry fully and sand lightly between coats for a smooth, buttery finish.
Watch out for common pitfalls like using coarse sandpaper or pressing too hard. Sanding large areas without a second thought can also cause problems. These missteps tend to wear down veneer faster than you would like and can really put a damper on its appearance.
Other Options for When Sanding Veneer Just Isn’t in the Cards
When sanding feels like walking on thin ice—especially with a delicate veneer or serious damage—there are still some solid options to bring your piece back to life. Chemical strippers can whisk away old finishes and prep the surface for refinishing without you ever pulling out the sandpaper. Veneer repair kits often come to the rescue for patching up and filling damaged spots.
- Use chemical strippers made specifically for veneer to gently remove stubborn old finishes without causing a fuss.
- For chips and cracks, try fusing veneer patches or using wood fillers from your repair kits to give your furniture some care.
- Skip sanding by choosing specialty lacquers or furniture paints that glide on smoothly and stick well over the surface.
- For light touch-ups, a clear topcoat over the existing veneer finish works wonders and breathes new life without hassle.
These alternatives usually play nice with veneer and help avoid the dreaded sanding mishaps though they might not deliver the deep restoration you are hoping for. Chemical strippers definitely call for fresh air and caution gear. Paint options can change the wood's natural look quite a bit.
How to Care for Veneer Furniture After Refinishing
Taking care of veneer furniture once you have refinished it can feel a bit like walking a tightrope—but with the right know-how, it’s more of a leisurely stroll. Keeping that fresh finish looking sharp isn’t rocket science, but it does require a little TLC and some smart habits. Let’s dive into some handy tips that’ll help your furniture stay stunning and resist the wear and tear of everyday life, without you needing to become a full-time furniture whisperer.
Taking good care of veneered furniture is a bit like giving it a little TLC to keep it looking sharp and lasting for years to come. You might wonder—can you sand veneer and refinish it if needed? While possible in some cases, prevention is better: dust regularly with a soft cloth (nothing too rough, as veneers are sensitive). Avoid drowning it in water or using strong cleaners, as that’s a fast track to trouble. Also, watch humidity and temperature swings—they can sneak up and cause damage before you know it.
- Gently dust with a microfiber or soft cloth to keep scratches at bay. Trust me, your veneer will thank you.
- Skip the water or soaking wet cloths. A dry or just slightly damp cloth does the trick without any fuss.
- Keep that veneer out of direct sunlight to avoid fading or the dreaded cracking.
- Always use coasters or mats to shield surfaces from annoying water rings and heat damage.
- Aim for consistent humidity levels to prevent your veneer from warping or peeling. It is a bit like Goldilocks—not too dry and not too damp.
- Try to avoid stacking heavy items or applying too much pressure on veneer surfaces. Treat it gently like you would a souffle.
- Every now and then, apply furniture wax or polish to keep the shine strong without worrying about any yucky buildup.
Frequently Asked Questions
How do I know if my veneer furniture is too damaged to sand?
If the veneer is peeling, cracked or really thin (less than 0.5mm), sanding might do more harm than good. Watch for deep scratches or spots where the base material is showing—these are signs it’s safer to patch or paint instead.
What’s the safest way to sand veneer without going through it?
Use fine-grit sandpaper (220 grit or finer) with a soft sanding block. Apply gentle pressure and work in small strokes. Check the surface often so you don’t sand too deep. Stop immediately if you see the base material beneath—it’s safer that way.
Can I use a power sander on veneer furniture?
Power sanders can be like a bull in a china shop for veneer as they are pretty aggressive. If you use one, pick a low-speed orbital sander with fine grit paper and keep it moving constantly. This prevents heat or pressure buildup in one spot, which you want to avoid.
What’s the best finish to apply after sanding veneer?
Water-based polyurethane or lacquer applied in thin coats usually works well. They dry fast and keep moisture away, which helps avoid warping. Gel stains are a good option if you want even color without soaking into the delicate wood layer.
How long does refinishing veneer furniture typically take?
Light sanding and refinishing usually take a day or two including drying time between stain and topcoat layers. More extensive repairs or chemical stripping could add an extra day. Let finishes cure fully—sometimes up to a week—before using the furniture.
Is refinishing veneer cheaper than replacing the furniture?
Refinishing usually costs a lot less, often under $50 for supplies, compared to buying new veneer furniture. But if the base layer is damaged or the veneer can’t be saved, replacing is more practical.
References
As a researcher in digital wellness studies, she examines the intersection of technology and mental health, offering evidence-based strategies for thriving in our connected world.
Read Pages


